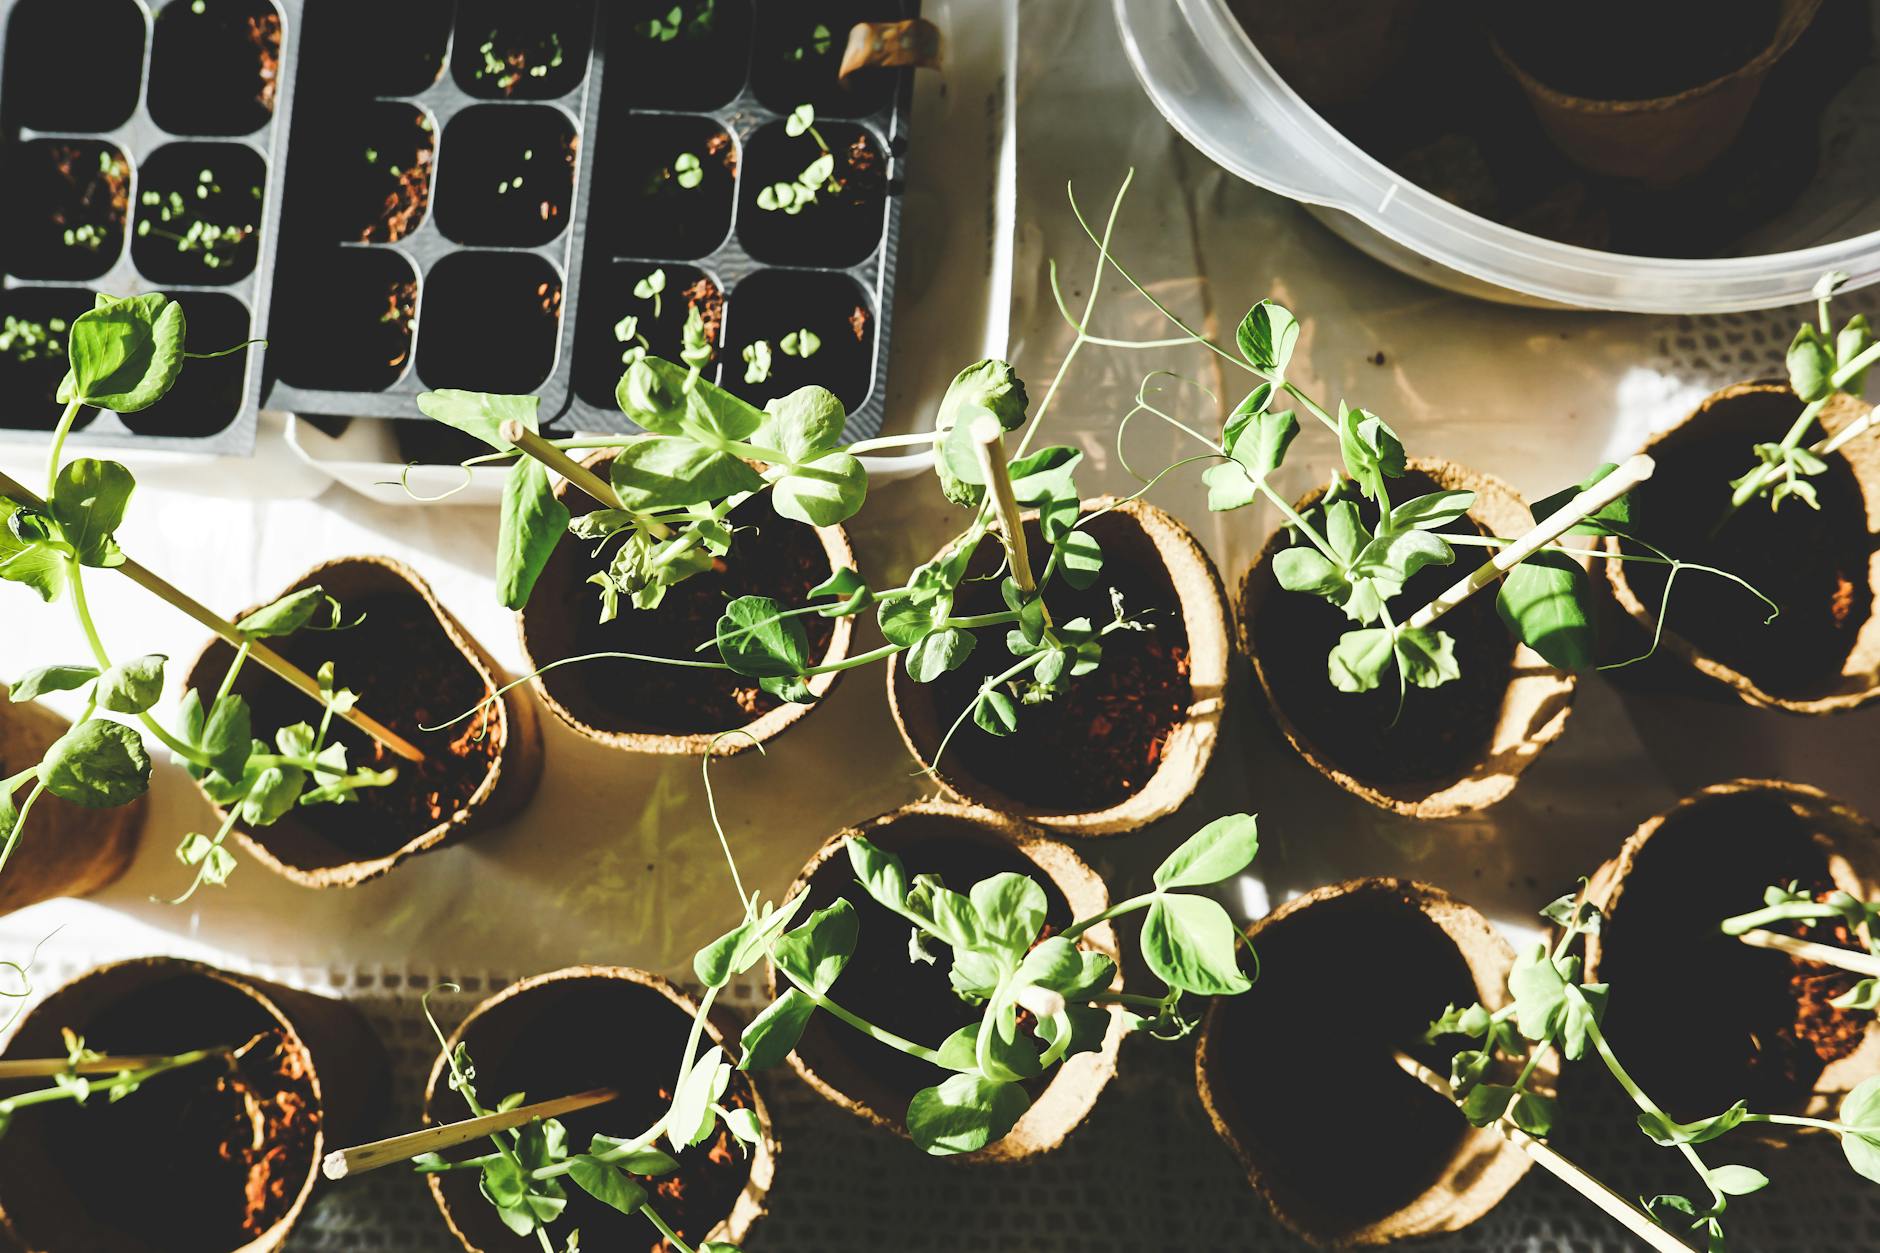
Introduction: The Frustration of Stalled Seedlings in 'Eco-Friendly' Pots
Right, let's be honest, we've all been there, haven't we? You've carefully sown your seeds, watched them sprout with that burst of green hope, coddled them through those delicate first weeks, and then... nothing. You plant them out, expecting them to take off like a rocket, only for them to just sit there, looking a bit sullen, refusing to grow. They're not dying, exactly, but they're definitely not thriving. It's the dreaded 'stalled seedling' syndrome, and it's enough to make even the most seasoned UK gardener want to throw their trowel into the compost heap.
I've been there countless times myself in my 800 sq ft Midlands garden. When I first swapped my IT keyboard for a gardening fork five years ago, I thought I was doing everything right by embracing those 'eco-friendly' peat and biodegradable pots. They promised easy transplanting, no plastic waste, and a smooth transition for my young plants. I pictured my 'Black Krim' heirloom tomatoes powering through their growing season or my 'Ailsa Craig' onions bulking up beautifully. But too often, especially during a typical cool, damp British spring, those seedlings just sat there. They seemed to hit an invisible wall, refusing to put on any new growth, lagging weeks behind their counterparts started in traditional plastic. It was baffling, frustrating, and frankly, a bit soul-destroying after all that effort.
It took me a few seasons of experimenting, a fair few failures (oh, the lost potential of those 'Cherokee Purple' tomatoes!), and a lot of digging around (literally and figuratively) to figure out the real culprit. It turns out those seemingly innocent, environmentally-conscious pots can sometimes be the very thing holding your precious seedlings back. This isn't about blaming the pots entirely; it's about understanding how they actually work (or don't work) in our specific UK climate and soil conditions, and how we can master their use for vigorous growth. I'm going to share everything I've learned, from the root of the problem to the best biodegradable options for us here in Britain.
The Root of the Problem: Understanding Why Seedlings Stall
So, why do our little plant babies suddenly get stage fright after being planted out in these 'eco-friendly' containers? It all comes down to their roots – the unsung heroes of the plant world. Roots are constantly searching for water, nutrients, and anchorage in the soil. For a seedling to really take off, its roots need to expand rapidly into the surrounding garden soil, establishing a strong network to support the growth above ground.
When a seedling is happily growing in a standard plastic pot, its roots will eventually reach the pot's edges and start circling. This isn't ideal, as it can lead to root-bound plants, but at least the roots are still growing. When you transplant that seedling, you usually gently tease those roots apart, encouraging them to spread out into their new home.
The issue with many peat and biodegradable pots is that they create an invisible, often impenetrable, barrier. Instead of the roots easily pushing through the pot walls and into the surrounding garden soil, they often hit the pot and start circling inside it, just as they would in a plastic pot. The difference is, you can't easily tease them out without destroying the pot's integrity. The plant is essentially still trapped in its tiny starter home, unable to access the abundant resources just a few millimetres away. It's like having a delicious Sunday roast just outside your window, but you can't open the door. The plant keeps trying, but it just can't break free, leading to that frustrating stall in growth.

I've seen this happen countless times with everything from my early 'Winterbor' kale starts to my more delicate pepper varieties. Last season, I had a batch of 'Hungarian Hot Wax' peppers in peat pots that just sat stubbornly for weeks after planting, while my 'Padron' peppers, started in plastic and carefully transplanted, raced ahead. When I finally dug up one of the stalled plants, the roots were a tight little ball, still perfectly contained within the intact peat pot. It was a stark reminder that what seems like a simple, convenient solution can actually be a significant bottleneck for root development, especially when our UK soil temperatures are still on the cooler side.
Peat Pots: Benefits, Pitfalls, and How They Impact Root Penetration
Peat pots were, for a long time, seen as a fantastic solution for starting seeds. They're lightweight, hold moisture, and the idea is you plant them directly into the ground, reducing transplant shock. When I first started gardening here in the UK, I bought into the hype hook, line, and sinker. They felt like a revelation, especially for delicate seedlings like sweet peas or cucurbits that really dislike root disturbance. I thought I was being clever, planting my 'Moneymaker' cucumbers out in them, expecting seamless growth.
However, over the years, I've learned that while the concept is sound, the execution often falls short in a typical British garden. The biggest pitfall, in my experience, is their degradation rate – or lack thereof. Peat, by its nature, is very slow to break down. When it's compressed into a pot and then planted into the often cooler, wetter, and sometimes heavier clay soils we have here in the Midlands, that degradation slows down even further. Microbes that would normally break down organic matter just aren't as active in those conditions.
What happens then is that the peat pot acts as a physical barrier, effectively root-pruning the seedling. The roots struggle to push through the dense, dry walls of the pot. Yes, I said dry! While peat holds moisture, the pot walls themselves can dry out incredibly quickly, especially if they're exposed above soil level (which often happens). Once dry, they become almost like cardboard, tough and resistant. The roots, instead of venturing out, get stuck circling within the confines of the pot. This leads to stunted growth, nutrient deficiencies because the plant can't access the wider soil, and generally unhappy plants. I learned this the hard way with a tray of 'Sungold' cherry tomatoes; they just never reached their full potential until I finally dug one up and physically removed the still-intact peat pot.
Here's a breakdown of peat pots compared to an ideal scenario:
| Feature | Peat Pots (Typical UK Use) | Ideal Root Environment (e.g., direct soil, plastic pot & bare-root transplant) |
|---|---|---|
| Primary Material | Compressed Peat Moss | Loose, well-aerated soil; no barriers |
| Degradation Rate (UK Soil) | Very Slow to Non-Existent (especially in cool/wet soil) | No pot to degrade; roots directly into soil |
| Root Penetration | Often Poor; roots struggle to push through dense, dry walls; circle within pot | Excellent; roots spread freely and quickly into surrounding soil |
| Watering Needs | Can dry out quickly, especially pot walls above soil; hard to re-wet if bone dry | Consistent moisture readily available from surrounding soil |
| Nutrient Uptake | Limited to pot's contents; restricted access to garden soil nutrients | Full access to surrounding garden soil nutrients |
| Transplant Shock | Can be high if roots are confined and struggle to establish | Minimal if handled correctly; roots quickly establish in new soil |
| Cost | Moderate | N/A (for direct planting) |
| Environmental Impact | High (harvesting peat damages vital ecosystems) | Low (when using sustainable practices) |
Biodegradable Alternatives: Coir, Wood Fibre & Cardboard – Degradation Rates Compared
After my numerous frustrating experiences with peat pots, I started looking for truly better alternatives. My greenhouse is often crammed with seedlings by April, and I'm always trying to reduce plastic, so finding something that genuinely broke down was key. I've experimented with coir, wood fibre, and even DIY cardboard pots made from toilet rolls and newspaper. Each has its pros and cons, especially when dealing with our unique British climate.
Coir Pots
Coir pots, made from coconut fibre, are often touted as the eco-friendly answer. They feel robust and hold moisture well initially. I've had some mixed results with them here in the Midlands. My 'Ailsa Craig' onions seemed to tolerate them reasonably well, but my sweet peppers and chillies often stalled. The main issue I've found is similar to peat pots: their degradation rate can be surprisingly slow in our cooler UK soils. While they are more fibrous than peat, they can still form a tough barrier that roots struggle to penetrate. Another lesser-known pitfall is that some cheaper coir pots can have high salt levels from their processing, which isn't great for delicate seedlings. Always look for 'low salt' or 'washed' coir products if you go this route, and consider giving them a good soak before use.
Wood Fibre Pots
These are becoming more popular and are generally made from sustainably sourced wood pulp. In my experience, wood fibre pots tend to degrade more reliably than peat or even some coir options. The structure is often less dense, allowing for better root penetration. I've used these for my early brassicas, like 'Red Russian' kale and 'Romanesco' broccoli, and found them to be quite effective. The roots seem to push through more readily, and they usually break down within a few weeks of being planted out, assuming reasonably moist soil. They can be a bit more expensive than other options, but for plants that absolutely hate root disturbance and need a quick start, they're a strong contender in my book.
Cardboard Pots (DIY & Manufactured)
Ah, the humble cardboard pot! This is where my IT-worker-turned-gardener brain really kicks in for a DIY solution. From toilet roll tubes to newspaper pots, these are cheap, readily available, and undeniably biodegradable. I use toilet roll tubes extensively for my sweet peas and broad beans ('Aquadulce Claudia' is a favourite for an early start!) because they have deep roots and only need to be in the pot for a relatively short time before planting out. The degradation is usually excellent – sometimes too excellent, especially if you have a particularly wet spell or overwater, as they can turn to mush or develop mould. The biggest challenge is consistent moisture; they can dry out incredibly fast, meaning you need to be very vigilant with watering, especially during a sunny spring day in the greenhouse. For anything that needs a longer stay, or where consistent moisture is critical (like my heirloom tomatoes), I usually opt for something more robust.
Here's a comparison table of these biodegradable alternatives:
| Feature | Coir Pots | Wood Fibre Pots | Cardboard Pots (DIY / Manufactured) |
|---|---|---|---|
| Primary Component | Coconut Coir Fibre | Compressed Wood Pulp/Fibre | Recycled Paper/Cardboard |
| Degradation Rate (UK Soil) | Moderate to Slow (can be slow in cool/wet conditions) | Good; generally breaks down within weeks to months | Very Fast to Moderate (can be too fast, or too slow if waxed) |
| Root Penetration | Variable; can be tough for roots to penetrate if dense | Good; roots generally push through more easily | Variable; easy to penetrate but can disintegrate too quickly |
| Water Retention | Good; can hold moisture well (but also dry out pot walls) | Good | Poor to Moderate; dries out very quickly |
| Cost | Moderate | High | Low (especially DIY) |
| Best Use in UK Garden | Good for short-term starts, less root-sensitive plants; check for low-salt | Excellent for most seedlings, especially those hating root disturbance | Quick-start, short-term crops (e.g., sweet peas, broad beans, sunflowers) |
| UK Specific Considerations | Check salt levels; slow degradation in cold/wet soil | Generally reliable; good for a range of UK crops | Prone to mould or rapid breakdown in wet UK conditions; needs vigilant watering |
Pre-Planting Prep: Techniques for Encouraging Root Escape and Pot Degradation
Right, so we've looked at why these pots can be a bit of a pain. Now, let's talk about what we, as eager UK gardeners, can actually do to give our little seedlings the best fighting chance. This is where my personal experimentation in my 800 sq ft Midlands garden has really paid off. I've learned that a little bit of prep before planting out can make a monumental difference to whether you get vigorous growth or frustrating stalls.
My absolute non-negotiable step now, especially for those tougher coir or wood fibre pots, is scoring or slitting them before planting. I used to just plant them as they were, thinking 'biodegradable' meant 'magically disappears'. Oh, how wrong I was! I remember one particularly stubborn 'Sweet Million' tomato plant in my greenhouse that just sat there for weeks, looking miserable. When I eventually dug it up – which felt like admitting defeat, but hey, we learn – I found its roots were still completely confined within an almost perfectly intact coir pot. Never again!
Now, for any seedling going into one of these pots, be it a 'Sungold' tomato, a 'Black Knight' courgette, or even my trusty 'Cosmic Purple' carrots, I grab a sharp knife or a sturdy pair of scissors. I make at least 4-6 vertical slits, about half an inch deep, around the sides of the pot. For really vigorous growers, or if the roots are already looking like they're trying to burst out, I'll even make a couple of horizontal slits or carefully tear off the very bottom of the pot. This gives those precious root hairs an immediate escape route into your lovely garden soil, rather than forcing them to ram through a dense barrier.
For peat pots, which tend to be a bit softer, I often just tear the bottom off completely. They're more prone to wicking moisture away from the roots anyway, and removing the base makes sure the roots can plunge straight down. I've found this particularly effective for my brassicas like 'Copenhagen Market' cabbage or 'Purple Sprouting Broccoli' that really need to get established quickly before the slugs descend.
Another critical step I've adopted is pre-soaking the pots before planting. Even if the pot feels moist, giving it a good dunk in a bucket of water right before planting helps kickstart the softening process. I'm talking a proper soak for a few minutes until it's saturated. This makes it easier for the scoring knife to cut through and, more importantly, ensures the pot isn't going to immediately start wicking moisture away from your seedling once it's in the ground. I learned this the hard way during a dry spell in early summer here in the Midlands – my 'Cucamelon' seedlings, planted in relatively dry peat pots, just withered despite regular watering. The pots were drawing all the moisture!
Finally, inspect those roots! Before you do any prep, gently tease the seedling out of its pot (if it's a very sturdy one you're cutting) or just look at the drainage holes. If you see roots poking out, that's a good sign, but it also tells you they're ready for some help getting fully free. If they're spiralling around the inside, they're already root-bound, and that's when those slits become absolutely vital. I always tell myself, "Randy, you're not damaging the plant, you're liberating it!"
Optimising UK Soil Conditions for Effective Pot Breakdown Post-Planting
Once you've done your pre-planting prep, the next crucial step is ensuring the soil in your UK garden is ready and willing to help those pots disappear. After all, the success of these biodegradable pots hinges entirely on them actually biodegrading once they're in the ground! And let me tell you, our British soil conditions, especially here in the Midlands, can be a bit of a mixed bag.
The biggest factor for pot degradation is soil moisture. Microbes, which are the unsung heroes breaking down these materials, need moisture to thrive. If your soil is too dry, the pots will just sit there, hard as ever. This is a common issue during our unpredictable UK summers, where we can go from torrential rain to a bone-dry week in a heartbeat. I've found that ensuring good, consistent moisture around the newly planted pots is key. When I plant out my 'Moneymaker' tomatoes or 'Runner Bean 'Scarlet Emperor'' seedlings, I always give the planting hole a good water before I even put the seedling in. Then, a thorough watering after planting.
Here in my raised beds, which tend to drain well, I also swear by mulching around newly planted seedlings. A good layer of homemade compost or well-rotted straw keeps the soil consistently moist and cool, which is perfect for microbial activity. It also suppresses weeds, which is a bonus! One year, I neglected to mulch around some 'Patio Baby' aubergines, and their coir pots remained stubbornly intact for far too long, leading to stunted plants. Lesson learned!
Secondly, soil biology is paramount. Healthy, living soil is teeming with the microorganisms that will happily munch their way through peat, coir, and wood fibre. If your soil is dead or depleted, those pots aren't going anywhere fast. This is why I'm absolutely obsessed with adding organic matter to my garden every year. My compost bins are always working overtime, turning kitchen scraps and garden waste into rich, dark goodness. Every autumn, my raised beds get a generous top-dressing of homemade compost and often a layer of well-rotted horse manure I get from a local farmer. This not only feeds my plants but also feeds the soil life that's going to break down those pots.
Finally, and this is a mistake I made early on, ensure you plant the entire pot below the soil surface. If the rim of the pot is exposed to the air, it acts like a wick, drawing moisture out of the soil and away from your seedling's roots. This is especially true for peat pots. I learned this when my 'Early Purple Sprouting Broccoli' in exposed pots started looking rather thirsty, despite the ground around them being moist. Now, I always make sure to bury the whole pot, usually about half an inch to an inch below the surface of the surrounding soil. This helps keep the pot moist, encouraging degradation, and prevents that frustrating wicking effect.
So, in summary, for robust pot breakdown in your UK garden, focus on: consistent soil moisture, a thriving soil ecosystem rich in organic matter, and proper planting depth. Combine this with the pre-planting pot prep, and you're well on your way to vigorous, happy seedlings!
Conclusion: Cultivating Vigorous Growth from Seedling to Harvest
Well, there we have it, fellow green-fingered enthusiasts! We've delved deep into the sometimes frustrating world of peat and biodegradable pots, uncovering why our precious seedlings might be stalling after planting out. It's a journey I've certainly been on myself over the past five years in my Midlands garden, learning through trial and error, celebrating small victories, and occasionally, admitting defeat when a crop just didn't thrive.
The core of the issue, as we've explored, boils down to two critical factors: root penetration and pot degradation. Those seemingly eco-friendly pots, designed to make our lives easier, can become invisible barriers, trapping roots and preventing them from accessing the vital nutrients and water in your garden soil. And the varying degradation rates of different materials – from the relatively quick breakdown of some cardboard to the stubborn persistence of denser coir – mean we can't treat all 'biodegradable' pots the same.
But here’s the good news: this isn't a problem without solutions! Through years of experimenting in my own UK greenhouse and raised beds, I've found that a few simple, intentional steps can turn those potential pitfalls into stepping stones for success. Remembering to score or slit your pots before planting, especially the tougher coir varieties, gives those eager roots the immediate freedom they crave. Pre-soaking ensures the pot starts soft and doesn't wick moisture away from your delicate seedlings, a crucial point in our often-unpredictable British climate.
And once they're in the ground, it's all about nurturing your soil. Consistent moisture, achieved through thoughtful watering and mulching, combined with a vibrant, biologically active soil teeming with helpful microbes, will ensure those pots break down efficiently. And don't forget that vital step of burying the entire pot to prevent moisture loss.
Gardening, for me, is a constant learning curve. It's about observing, experimenting, failing, and then trying again with newfound knowledge. It's about connecting with the rhythm of the seasons here in the UK and understanding the unique needs of our plants in our particular climate. By understanding these nuances of biodegradable pots, you're not just planting a seedling; you're actively cultivating the conditions for it to thrive, to grow strong, and to eventually bless you with a bountiful harvest.
So, don't let a few stalled seedlings discourage you. Take these tips, apply them in your own UK garden – whether it's a small patio, an allotment, or a bustling backyard like mine – and watch your plants flourish from a tiny seedling into robust, productive members of your garden family. Happy growing, everyone! I'd love to hear about your own experiences and tips with these pots in the comments below!
