
Is Your Garden Feeling Sluggish? The Hidden Truth About Dusty Leaves
You know that feeling, don't you? You've put in the hours, nurtured your seedlings, fought off the slugs (a never-ending battle here in the Midlands!), and yet some of your plants just aren't quite thriving. They're growing, sure, but perhaps the leaves look a bit dull, the fruit set isn't as prolific as you hoped, or the overall vigour just feels... lacking. For years, I'd scratch my head, blaming everything from soil pH to those notoriously fickle British summers. But then I stumbled upon a surprisingly simple, often overlooked culprit that was literally choking the life out of my outdoor plants: dust.
It sounds almost too basic, doesn't it? Dust. We think of it as an indoor problem, something for the hoover, not a serious threat to our thriving raised beds or our precious greenhouse tomatoes. But in my 800 sq ft backyard, packed to the brim with everything from 'Sungold' cherry tomatoes to my favourite 'Black Krim' heirlooms and a riot of herbs, I've learned that dust is a silent saboteur. Whether it's from a nearby road, a dry spell sending up soil particles, or even just general environmental grime, that fine layer of grit on your plant leaves is doing far more harm than you might imagine. It was a real 'aha!' moment for me, especially after a particularly dry spring here in the UK that left everything looking a bit grey. I'm going to share exactly what I've learned about tackling this common issue, so your plants can breathe easy and reach their full potential.
The Silent Saboteur: How Dust Chokes Your Plants' Photosynthesis
So, why is a bit of dust such a big deal? It all comes down to the magic of photosynthesis, the incredible process where plants convert sunlight into the energy they need to grow, flower, and fruit. Think of plant leaves as tiny solar panels, bristling with microscopic pores called stomata, which are essentially their lungs. These stomata open to take in carbon dioxide from the air and release oxygen, while the chlorophyll in the leaves absorbs sunlight. It's a beautifully efficient system, vital for every aspect of a plant's health.
Now, imagine covering your own solar panels with a fine layer of dust and grime. They wouldn't work nearly as well, would they? The same principle applies to your plants. That innocent-looking film of dust acts like a physical barrier, blocking precious sunlight from reaching the chlorophyll. Less sunlight means less energy production, which directly translates to slower growth, fewer flowers, and smaller, less flavourful harvests. But it’s not just about blocking light. Dust also physically clogs those tiny stomata, making it harder for the plant to "breathe" and regulate its internal processes. I learned this the hard way when a patch of my 'Red Russian' kale, growing close to a busy path in my garden, started looking really lacklustre despite good feeding. A quick wipe revealed a surprising amount of grit, and within a week of cleaning, its vibrant green colour and growth picked right back up. It genuinely felt like I'd given them a new lease on life.

Spotting the Problem: Is Your Plant a Dust Magnet?
Alright, so you're convinced dust could be an issue. But how do you actually spot it? It's not always as obvious as a thick layer of grey. Often, it's a subtle dullness, a lack of the usual vibrant sheen you'd expect from healthy foliage. I've spent enough time peering at my 'Gardener's Delight' tomatoes and 'Genovese' basil leaves to know the difference between a truly clean, happy leaf and one that's struggling under a layer of grime.
In my experience here in the Midlands, certain plants and locations are more prone to dust build-up. Plants with large, smooth leaves, like my beloved 'Cherokee Purple' tomatoes in the greenhouse or the broad leaves of my courgettes, tend to show dust quite clearly. Hairy-leaved plants, like some varieties of sage or even my fuzzy 'Romanesco' courgettes, can actually trap dust more effectively, making it harder to spot but just as detrimental. Sources of dust in my 800 sq ft patch include the nearby road, occasional dry windy spells kicking up soil from the paths, and even the fine particles from any building work or DIY projects my neighbours might undertake. Taking a closer look, especially at the older, lower leaves, is often where you'll find the first signs.
To help you identify whether dust is indeed the culprit slowing down your plants, I've put together a little comparison table based on what I've observed in my own UK garden.
| Feature | Healthy Leaf Indicators (Randy's Garden) | Dusty Leaf Indicators (Randy's Garden) | Randy's Tip for UK Gardeners |
|---|---|---|---|
| Appearance | Vibrant, glossy (if naturally so), deep green, fresh-looking. | Dull, muted green, greyish film, often looks tired or 'grubby'. | Pay attention to the natural sheen of your specific plant variety. 'Moneymaker' tomatoes, for instance, should gleam! |
| Texture | Smooth, supple, slightly waxy to the touch (depending on plant). | Gritty, rough, leaves might feel stiffer or less pliable. | Gently run your finger across a leaf. If you feel any resistance or fine particles, it's likely dust. |
| Vigour | Strong, upright growth, good new leaf formation, prolific flowering/fruiting. | Slowed growth, smaller new leaves, fewer flowers, poor fruit set, overall droopy. | If a plant isn't thriving despite good water/feed, check for dust before blaming the unpredictable British weather! |
| Light Reflex | Reflects light evenly, often with a healthy sparkle. | Absorbs light, looks flat, light doesn't seem to 'bounce' off the surface. | Observe your plants in direct sunlight. Healthy leaves really pop; dusty ones look flat and thirsty for light. |
| Water Beading | Water beads up and runs off cleanly. | Water might sit in tiny murky puddles, or run off slowly, carrying dirt with it. | After a light rain, check how water behaves on the leaves. Clean leaves shed water beautifully. |
Essential Prep: Gathering Your Gear for a Gentle Clean
Before you grab a bucket and sponge, hold on a minute! Cleaning plant leaves, especially delicate ones, requires a gentle touch and the right tools to avoid causing more harm than good. I've certainly made mistakes in the past, scrubbing a bit too vigorously or using tap water that left unsightly marks, especially on my prized greenhouse occupants. What works here in Britain, particularly with our often hard water, is a careful approach.
Here's my go-to list for a successful and safe leaf-cleaning session, all items I keep handy in my potting shed:
- A Clean Spray Bottle: This is non-negotiable. I always keep a dedicated spray bottle filled with collected rainwater by my greenhouse door. Rainwater is soft, free of chlorine and limescale, and perfect for foliar feeding or, in this case, gentle cleaning. If you don't collect rainwater, filtered tap water or cooled, boiled water is a good second best to avoid mineral deposits.
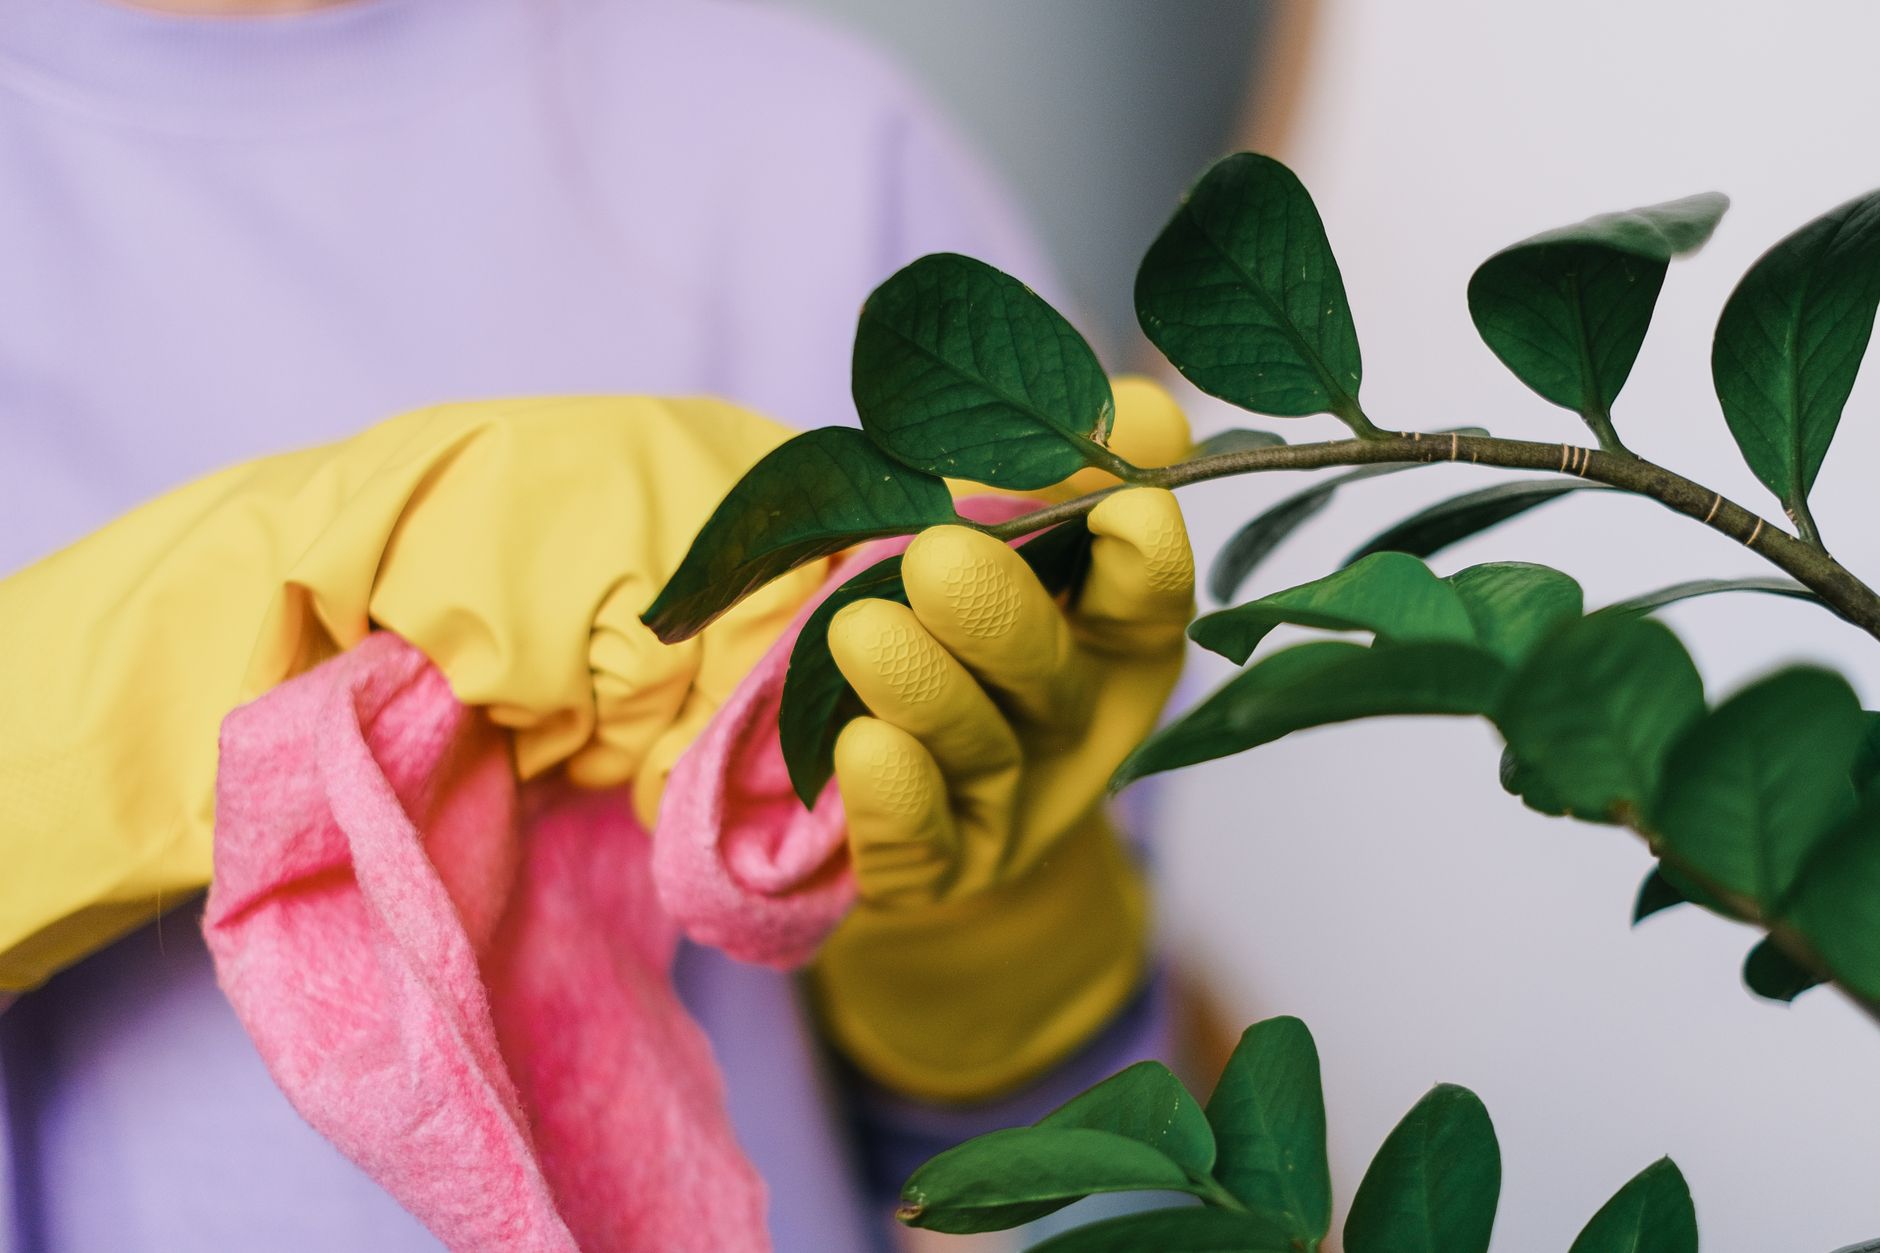
- Soft Microfibre Cloths or Sponges: Forget old dishcloths. Microfibre is incredibly gentle and effective at picking up dust without scratching. For smaller leaves or those with delicate textures, a soft, natural bristle paintbrush (like an old, clean watercolour brush) can be invaluable. I use this for my herbs like thyme and rosemary, where a cloth would be too cumbersome.
- A Small Bucket or Basin: For rinsing your cloths or for a final, very gentle dunk for smaller potted plants.
- Optional: Mild, Unscented Soap: For really stubborn grime or sticky residue (like honeydew from aphids – another common UK garden pest!). I use a tiny drop of pure castile soap, diluted heavily in water. We're talking a single drop in a litre of water. Crucially, avoid harsh detergents, dish soaps with degreasers, or anything with added perfumes, as these can strip natural oils or damage plant tissues. I usually stick to plain water for general dust.
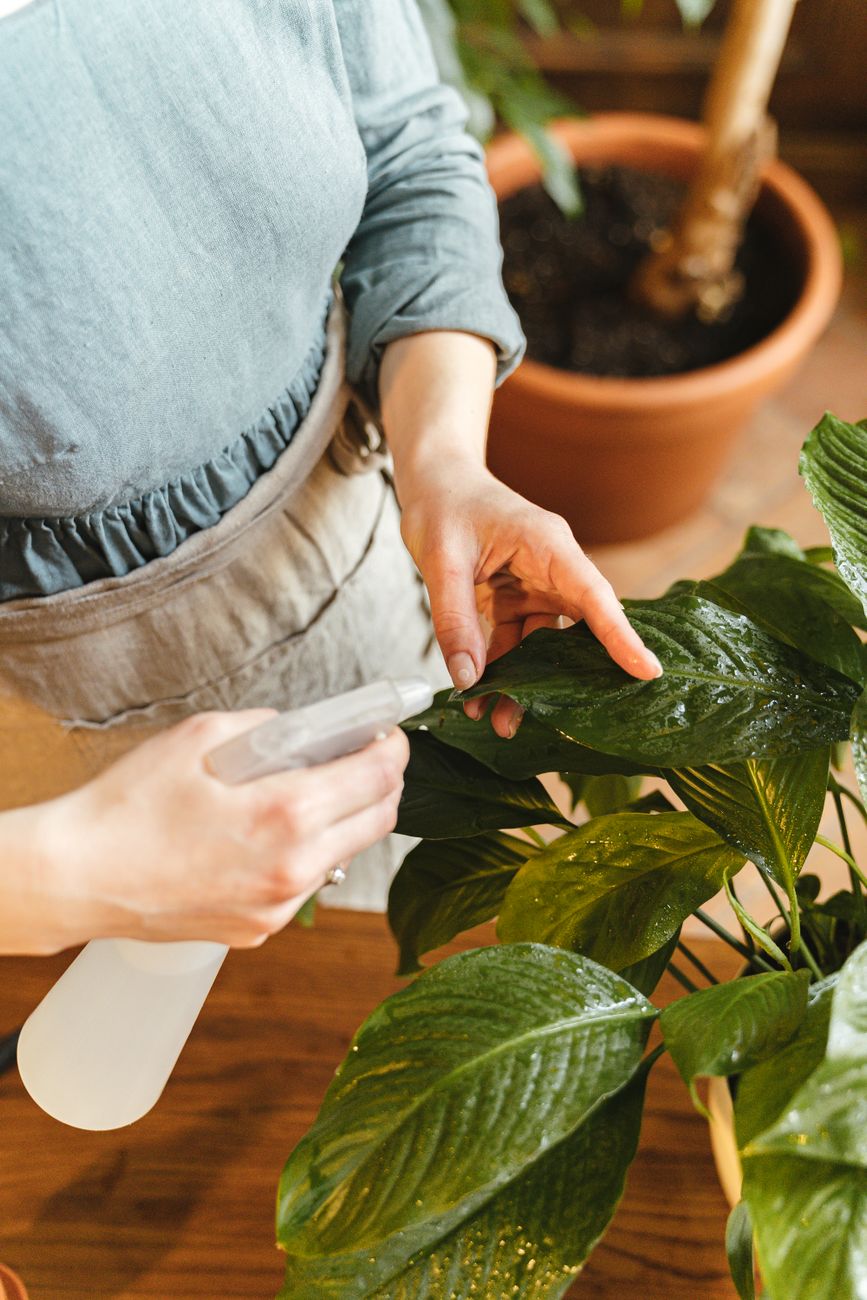
The key here is gentle. We're not trying to scour the leaves clean; we're aiming to lift the dust off without bruising the foliage or stressing the plant. Having these essentials ready means you can quickly get to work, ensuring your plants get the clean bill of health they need to photosynthesise at their peak, especially during our often shorter UK growing season.
Step-by-Step Cleaning: Tailoring Your Technique for Every Plant Type
Right, you’ve gathered your gear, you’re ready to go. Now, this isn’t a one-size-fits-all job, not in my 800 sq ft Midlands garden anyway! Just like you wouldn't prune a tomato the same way you'd prune a rose, you won't clean a sturdy brassica leaf the same way you’d tackle a delicate basil. I've learned this through a fair bit of trial and error over my five years, sometimes to the detriment of a poor plant. I remember one early spring, getting a bit over-enthusiastic with the hose on some young lettuce – let's just say they looked like they'd been through a tumble dryer!
The key here is observation and gentleness. Always support the leaf with one hand underneath while you clean with the other. And remember, mornings are best, giving the leaves plenty of time to dry before the evening chill sets in, which is crucial in our often-damp British climate to avoid fungal issues.
Here's how I approach different plant types in my garden:
Large, Sturdy Leaves (e.g., Brassicas, Courgettes, Squashes, Sunflowers)
These are your workhorses, the tough guys of the garden. Think kale, cabbage, broad beans – they can take a bit more.
- Method: For these, especially my outdoor brassicas like 'Cavolo Nero' and 'Brussels Sprout 'Crispus'', I often opt for a gentle spray from the hose on a misty setting. If it's been a dry spell and there's a serious build-up, I'll sometimes use a soft, damp cloth or sponge.
- My Tip: I wait for a dry, still morning, ideally after a few days without rain (which is rarer than hens' teeth here in the UK!). I'll give them a good, but not forceful, rinse. If it's really grimy, a quick wipe with a damp cloth afterward gets them gleaming. I find this most effective for my outdoor courgettes, especially when they're pushing out those massive leaves that are prime dust traps from the nearby lane.
Delicate Leaves (e.g., Lettuce, Herbs, Young Seedlings, Greenhouse Tomatoes)
This is where you need the touch of a seasoned surgeon, not a heavy-handed IT worker (old habits die hard sometimes!). My beloved heirloom tomatoes in the greenhouse, like 'Cherokee Purple' and 'Black Krim', are particularly sensitive.
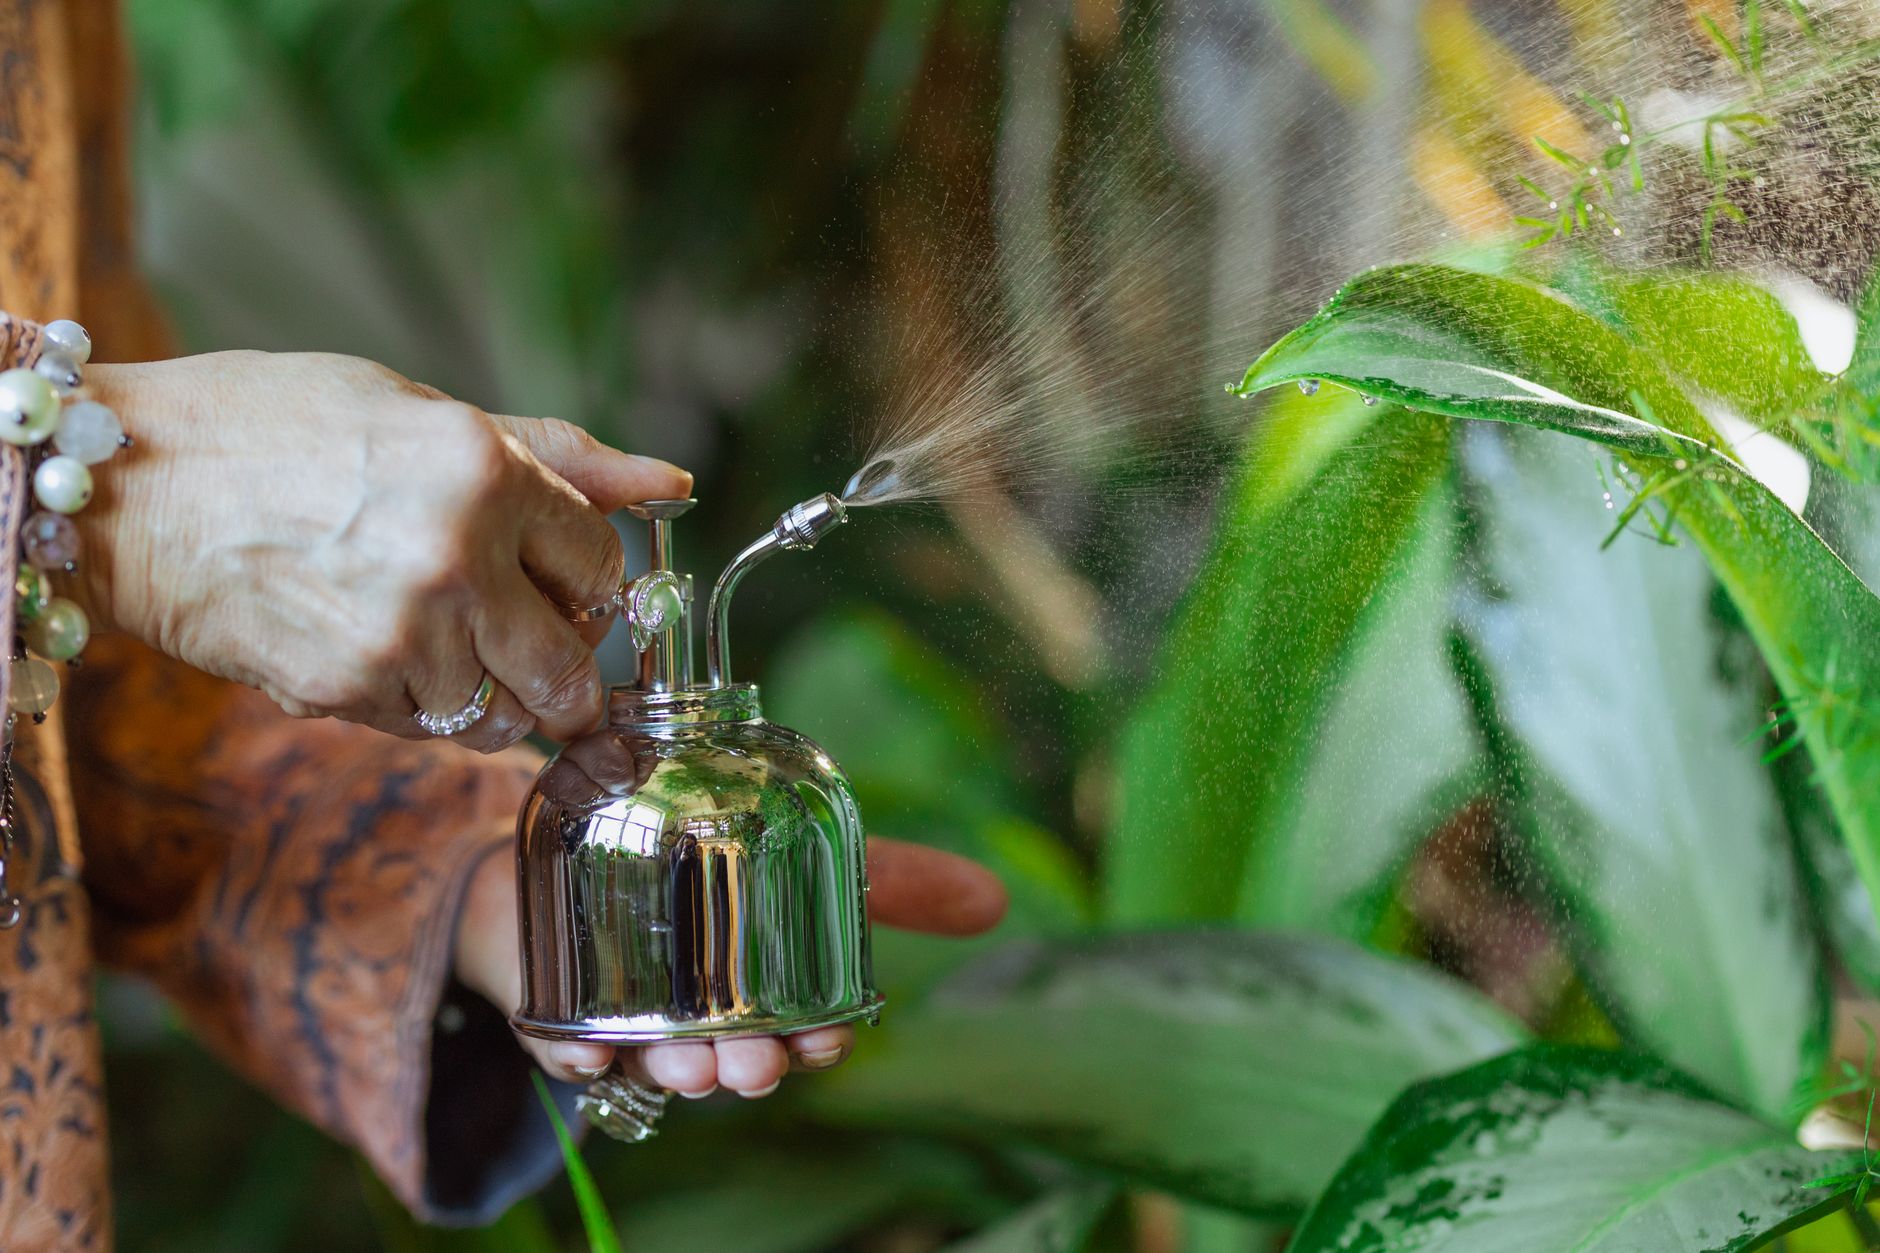
- Method: Absolutely no hosing for these! A very soft, damp cloth or a fine-mist spray bottle filled with lukewarm, filtered water is your best friend. For tiny seedlings, sometimes just a gentle puff of air or a soft artist's brush can dislodge dust without damage.
- My Tip: For my greenhouse tomatoes and basil, I use a dedicated, very soft microfibre cloth, just barely damp. I support each leaf from underneath and wipe gently from the stem outwards. I've even used a clean, soft paintbrush for the trickier nooks and crannies around the stems of my 'Sungold' plants. It's a bit time-consuming, but the yield and health benefits are absolutely worth it. One mistake I made early on was using tap water straight from the hose on my greenhouse plants – the chlorine can be a bit harsh. Now I let my water sit overnight to let the chlorine dissipate, or use collected rainwater.
Fuzzy or Hairy Leaves (e.g., Borage, Lamb's Ear, some Salvias)
These are a bit of a challenge because dust loves to cling to those tiny hairs, and wiping can damage them.
- Method: Avoid wiping if possible. A soft brush (like a clean, dry paintbrush) or a gentle puff of air is usually best. A very fine mist spray can sometimes work, but ensure excellent air circulation afterward to prevent moisture getting trapped in the hairs, which can lead to rot – a definite concern in our humid UK summers.
- My Tip: I grow a fair bit of borage for the bees, and its leaves are notoriously fuzzy. I've found a soft, dry makeup brush works wonders for dislodging dust without flattening the hairs. If they get truly caked, I'll use a very light mist of rainwater, followed immediately by a gentle shake and ensuring good airflow around them. I also make sure these plants have plenty of space around them to prevent dampness lingering, especially after a typical British downpour.
Here's a quick reference table to help you tailor your approach:
| Plant Type | Best Cleaning Method | Randy's Tip for UK Gardens | Why it Works (UK Context) |
|---|---|---|---|
| Large, Sturdy Leaves | Gentle hose spray / Damp cloth/sponge | Use on dry mornings; outdoor brassicas love a good rinse after a dusty spell, but ensure good drainage to avoid waterlogging. | Mimics natural rain, removes surface dust efficiently. Sturdy leaves tolerate more pressure. Morning clean allows drying before evening dampness. |
| Delicate Leaves | Soft, damp microfibre cloth / Fine mist spray / Soft brush | For greenhouse tomatoes and herbs, use lukewarm, filtered/rainwater. Support leaves; avoid direct sun immediately after. | Prevents bruising or tearing. Filtered water avoids chlorine damage. Gentle approach maintains the delicate structure and wax coating of the leaves. |
| Fuzzy/Hairy Leaves | Soft dry brush / Gentle puff of air / Very fine mist spray (sparingly) | Best to avoid wiping. If misting, ensure excellent air circulation to prevent rot in our humid climate. | Hairs trap dust but are easily damaged by wiping. Dry brushing lifts dust without matting. Misting needs care to prevent fungal issues. |
Beyond the Clean: Maintaining Sparkle and Preventing Future Build-up
So, you've given your plants a good clean – fantastic! But let's be honest, it's not a one-and-done job, not with the dust and variable weather we get here in the UK. I learned this the hard way when I first started. I'd clean everything up beautifully, only for a dry, windy week in the Midlands to coat everything in a fresh layer of grime. It felt like I was fighting a losing battle!
The real secret to consistently healthy, high-photosynthesis plants is a proactive approach. It's about building good habits into your regular gardening routine. Think of it like washing your car – you can give it a deep clean, but regular washes keep it sparkling.
Regular Maintenance Strategies
- Routine Checks: I make it a habit to visually inspect my plants every few days, especially my greenhouse tomatoes. It’s easy to spot dust accumulation then. If I see a few dusty leaves, I'll grab my trusty damp cloth or mist sprayer and do a quick spot clean. This is far less work than a full-scale operation!
- Strategic Watering: Sometimes, Mother Nature does the job for us. A good, clean shower of rain is fantastic for washing dust off outdoor plants. However, we can help too. When I'm watering my raised beds, I sometimes adjust my hose nozzle to a gentle shower setting and direct it at the leaves, especially on my more robust plants like courgettes and squashes. I always do this in the morning so the leaves have ample time to dry off before evening, preventing mildew and other damp-loving diseases that thrive in our British climate. I've found this particularly helpful for my outdoor herbs like mint and sage.
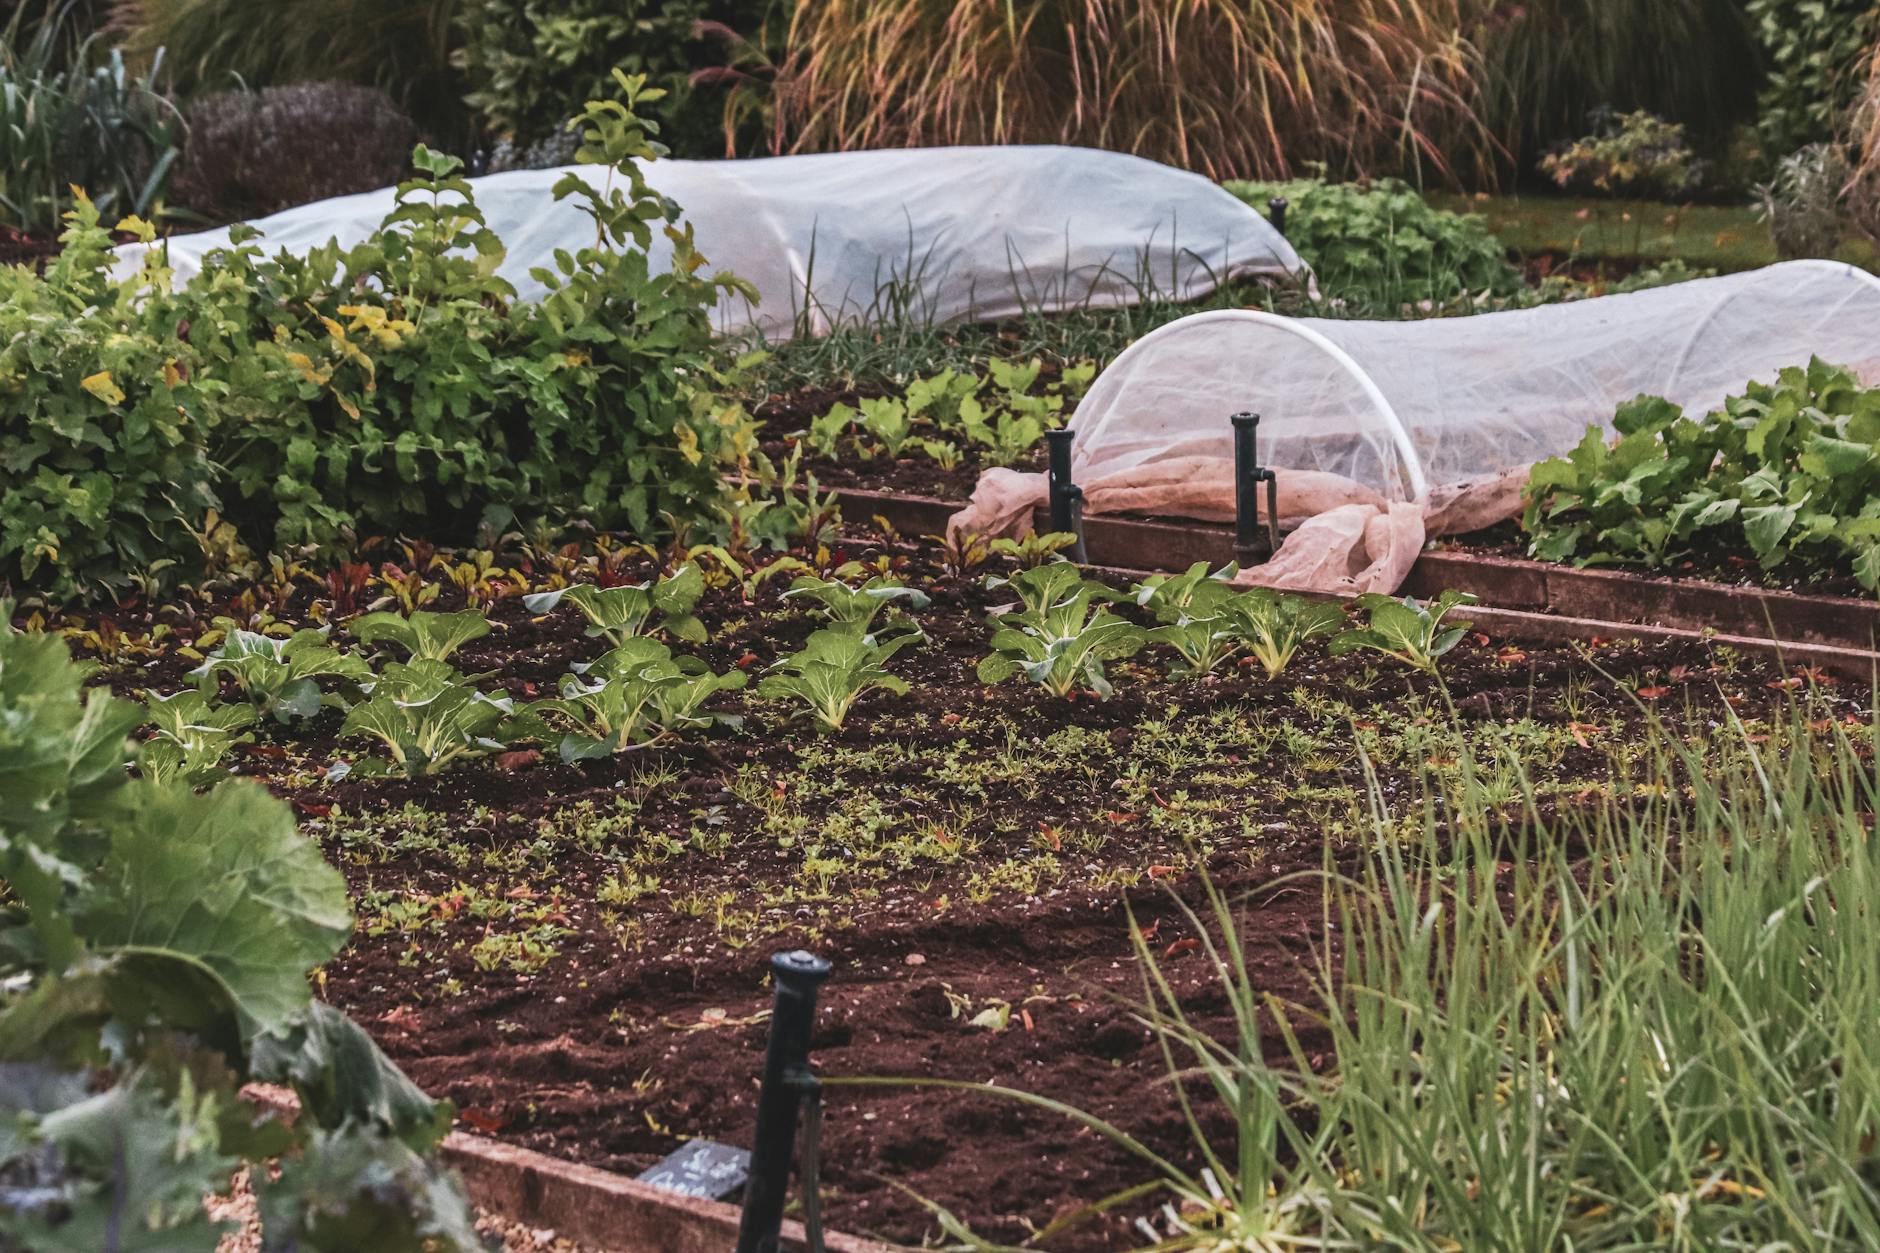
- Mulching: This is a big one for prevention in my garden. A good layer of mulch (I use homemade compost or wood chippings) around the base of your plants does wonders. It prevents soil from splashing up onto the lower leaves when you water or when we get one of our infamous sudden downpours. Less soil splash means less dust clinging to those vital lower leaves. It's also brilliant for moisture retention, which is a bonus in any UK summer, especially if we get another dry spell like last year.
- Air Circulation & Placement: This is especially crucial in my small greenhouse. Good air circulation not only helps prevent fungal issues (like blight on my 'Marmande' tomatoes, which I'm always battling!) but also helps to disperse airborne dust rather than letting it settle. I make sure my greenhouse vents are open on warm days, and I prune my tomato plants regularly to ensure good airflow between the leaves. For outdoor plants, consider where you're planting them relative to dusty paths or roads. My brassicas near the edge of the property definitely get dustier quicker than those nestled further in.
Here’s a breakdown of maintenance strategies I employ:
| Prevention Strategy | How I Use It in My UK Garden | Pros for UK Climate | Cons/Considerations for UK Gardeners |
|---|---|---|---|
| Routine Spot Checks | Quick visual inspection every 2-3 days, especially in the greenhouse. Spot clean with a damp cloth or mist sprayer immediately. | Catches dust early, preventing heavy build-up. Prevents issues before they become major tasks, saving time. | Requires consistency. Can be overlooked in a busy garden. |
| Strategic Watering | Gentle hose shower on outdoor plants in the morning after dry spells. Always ensure leaves dry by evening to avoid fungal issues in damp conditions. | Mimics natural rainfall, effectively washing off dust. Also provides hydration. Good for robust plants like courgettes and sunflowers. | Risk of fungal disease if leaves remain wet into evening, especially in humid UK summers. Not suitable for delicate plants. |
| Mulching | Thick layer of homemade compost or wood chippings around all plants in raised beds and containers. | Reduces soil splash onto leaves, a common source of dust. Retains soil moisture, crucial during dry spells. Suppresses weeds. | Initial effort to apply. Can harbor slugs in damp conditions (a constant UK battle!). |
| Air Circulation/Placement | Regular pruning for airflow in greenhouse (e.g., 'Sungold' tomatoes). Keeping greenhouse vents open. Considering wind direction from dusty areas for outdoor planting. | Deters fungal diseases (e.g., powdery mildew, blight) prevalent in the UK's often humid climate. Helps disperse airborne dust. Reduces stagnant air in greenhouse. | Might require sacrificing some foliage for pruning. Limited control over external dust sources (e.g., busy roads). |

Your Plants, Rejuvenated: Enjoying a Healthier, More Vibrant UK Garden
There's something truly satisfying about seeing your plants thrive, isn't there? For me, it's the culmination of everything I love about gardening – the learning, the experimenting, and seeing the direct, tangible results of my efforts. When I first transitioned from the world of IT into this green obsession five years ago, I never imagined that something as simple as dusty leaves could have such a profound impact on my garden's health. But it does, and understanding that has been one of my biggest breakthroughs.
When you take the time to gently clean those leaves, you’re not just making them look pretty (though that's a lovely bonus!). You’re literally opening up their lungs, allowing them to breathe, to drink in the sunlight, and to convert that energy into the vibrant growth and delicious produce we all crave. I remember the first time I thoroughly cleaned my 'Sungold' tomato plants in the greenhouse after noticing their leaves looked a bit dull. Within days, the new growth was more vigorous, the existing fruits seemed to swell faster, and the overall vitality was undeniable. It was a real "aha!" moment for me, right here in my Midlands garden.
By implementing these simple cleaning and prevention strategies, you're doing more than just routine maintenance. You're actively boosting:
- Maximized Photosynthesis: Your plants can absorb more light, leading to stronger growth and better yields.
- Improved Pest Resistance: Healthy, clean plants are naturally more resilient to pests and diseases. Dust can also hide pests, so a clean leaf is an inspected leaf!
- Enhanced Nutrient Uptake: Better photosynthesis means the plant has more energy to absorb and utilise nutrients from the soil.
- Overall Plant Vitality: You'll notice a significant improvement in the colour, vigour, and general happiness of your green companions.
It might seem like a small task in the grand scheme of things, but in my experience here in the UK, these seemingly minor details often make the biggest difference. Our British weather throws enough challenges our way – from sudden frosts to torrential downpours and everything in between – so anything we can do to give our plants an edge is well worth the effort.
So, go on, give it a go in your own UK garden! Pick a sunny, calm morning, gather your tools, and give your plants the gift of clean leaves. You’ll be amazed at the difference it makes. You’ll not only see your plants respond with renewed vigour and health, but you’ll also feel that deep satisfaction of knowing you've nurtured them to their fullest potential. And trust me, there's no feeling quite like harvesting a perfectly formed 'Cherokee Purple' tomato from a plant whose leaves you've lovingly kept spotless. Happy gardening, everyone!
