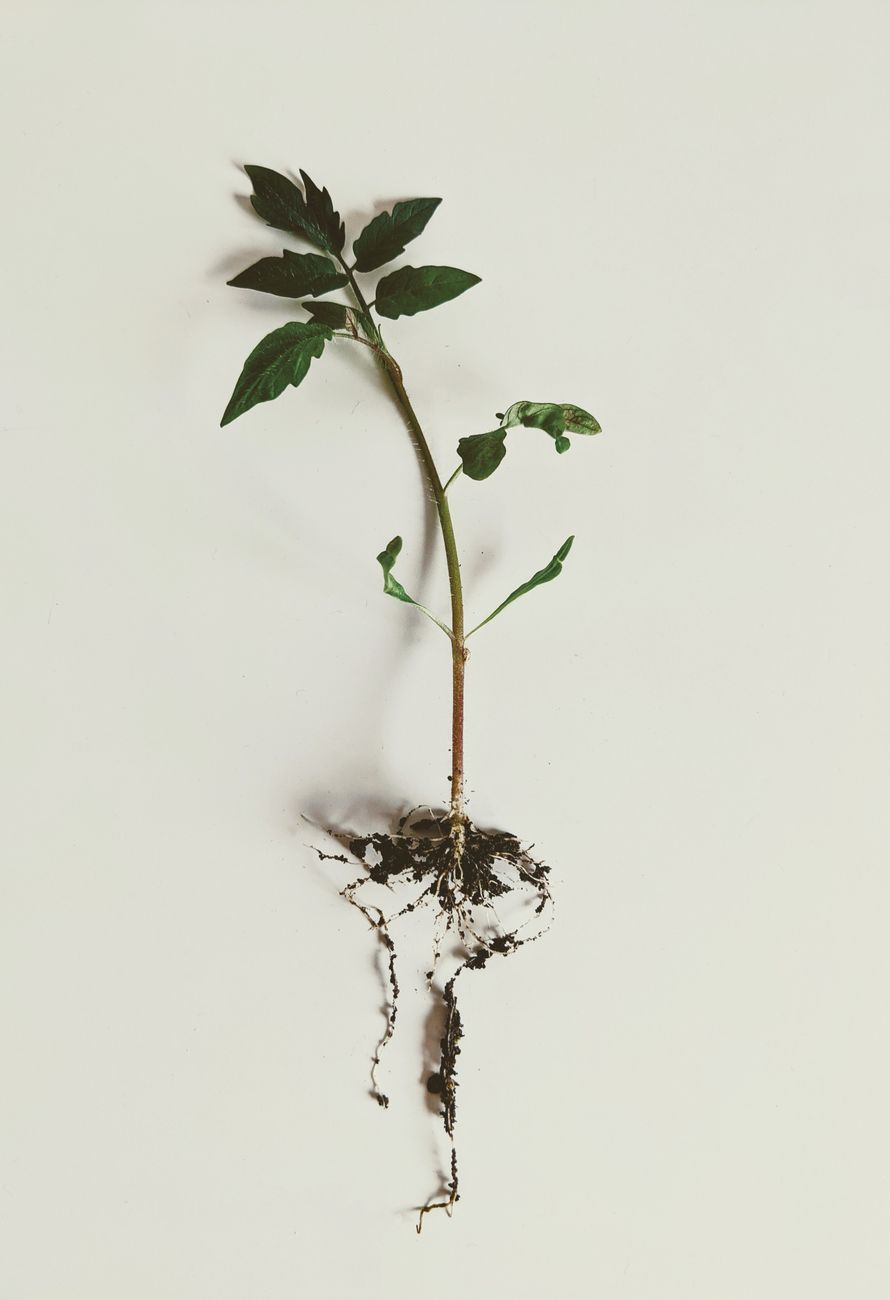
Right then, let's talk about one of the most head-scratching moments in any UK gardener's year – that single plant that just won't play ball. You know the one: you've got a whole row of thriving, bushy tomato plants in your greenhouse, or a raised bed bursting with lush lettuce, and then, right there in the middle, one sad, stunted specimen. Everything else is green, healthy, and producing, but this one plant looks like it's given up the ghost. It's enough to make you scratch your head, isn't it?
I'm Randy, and I've been cultivating my 800 sq ft patch here in the UK Midlands for over five years now. My raised beds and greenhouse are my absolute passion, where I spend countless hours experimenting with everything from heirloom tomatoes to quirky British herbs. I've seen my fair share of gardening triumphs, but believe me, I've also had my share of those "lone straggler" moments. In my former life in IT, I was all about problem-solving, and that analytical bug definitely followed me into the garden. When I see one plant underperforming while its neighbours are flourishing, my inner detective kicks in.
It's tempting to throw your hands up, but I've learned that these isolated cases are often solvable, and understanding why they happen makes you a much better gardener in the long run. We're not talking about widespread blight or a general nutrient deficiency affecting your whole plot; this is about pinpointing highly localised issues. So, grab a cuppa, and let's dig into diagnosing and fixing those frustrating, isolated cases of stunted growth and poor blooms right here in our British gardens.
The Lone Straggler: Why One Plant Fails While Others Thrive
It's a scene I'm sure many of you, especially my fellow UK gardeners, can relate to. Last summer, I had a beautiful row of 'San Marzano' tomatoes growing happily in one of my raised beds, all soaking up the sporadic British sunshine. They were putting on fantastic growth, setting fruit, and generally looking the picture of health. All, that is, except for one. This particular plant was noticeably smaller, its leaves were a paler green, and it seemed to perpetually be two weeks behind its siblings. It was utterly baffling, especially since it was planted at the same time, from the same batch of seedlings, in what I thought was identical soil.
This isn't about a general problem like a late frost that's hit everything (oh, how I've learned about those here in the Midlands!), or a widespread pest infestation. If that were the case, you'd see symptoms across multiple plants, or even your entire crop. What we're focusing on here is that peculiar phenomenon where one plant, an island in a sea of green, is clearly struggling. Its neighbours are thriving, reaching for the sky, and producing abundantly, while our poor subject is just limping along, maybe producing a few sad flowers that never set fruit, or staying stubbornly small.
I've learned from experience that these lone stragglers often point to a very specific, localised issue right beneath that plant's feet, or something that happened to that individual plant. It forces you to look beyond the obvious and become a true plant detective. It’s a challenge, but fixing it gives such a satisfying feeling of accomplishment, especially when you coax that struggling plant back to health.
Beyond the Obvious: Ruling Out General Pests, Diseases & Watering Issues
When I spot a sad-looking plant amidst healthy ones, my first instinct, like many of you I'm sure, is to check for the usual suspects: pests, diseases, or a watering snafu. However, for a single established plant that's underperforming while its immediate neighbours are booming, these common issues often aren't the primary culprits. Why? Because most widespread problems tend to spread.
Take aphids, for example. If I get an aphid infestation on my 'Sweet Millions' tomatoes in the greenhouse, it rarely stays on just one plant for long. Those little green nuisances spread quickly, usually making their way to several plants, or at least showing signs on multiple leaves across the patch. Similarly, fungal diseases like blight, while devastating, don't typically pick just one plant out of a row to attack in isolation. They'll jump. And as for watering, unless you're literally hand-watering each plant individually and consistently missing one spot, it's unlikely that only one plant in a contiguous bed is chronically underwatered or overwatered compared to its neighbours. In my 800 sq ft garden, I use drip lines for most raised beds, so consistent watering across a row is usually a given.
One mistake I used to make was assuming general issues were at play. I'd spray for pests or drench with a fungicide when the problem was far more localised. Now, I always perform a quick visual inspection of the surrounding plants first. Are they showing any signs? If not, we can generally rule out widespread issues and start looking closer to home.
Here's a quick comparison to help differentiate:
| Symptom Type | Widespread Problem (Affects Many) | Localized Problem (Affects One) | Randy's UK Garden Check |
|---|---|---|---|
| Pest Damage | Chewed leaves, sticky residue, visible pests on multiple plants. | Isolated leaf damage, single cluster of pests, often near soil line. | Inspect underside of leaves, stem, and soil for specific pests on just the struggling plant. My 'Foreman' broad beans once had a single cluster of blackfly only on one stem. |
| Disease Symptoms | Spots, wilting, discolouration spreading across a patch. | Specific leaf spot, stunted growth, or wilting on one plant only. | Check for signs of common UK diseases like powdery mildew or blight on surrounding plants first. If clear, it's less likely a general disease. |
| Watering Issues | All plants wilting (underwatered) or yellowing/root rot (overwatered). | One plant consistently droopy or stunted despite neighbours thriving. | Feel the soil directly around the struggling plant. Is it significantly different (drier/wetter) than its neighbours, despite same irrigation? I often find a dry pocket next to a single struggling courgette. |
| Nutrient Deficiency | General yellowing, poor growth across a bed. | Specific nutrient deficiency symptoms on one plant, neighbours fine. | If the whole bed had poor nitrogen, all would be pale. If only one, look deeper at its root zone. |
Unearthing the Problem: Localized Soil Deficiencies & Imbalances
Now we're getting to the real nitty-gritty, and often the most common culprit for that lone straggler: what's going on directly around its roots. In my experience here in the Midlands, with our often heavy clay soils or even in my carefully constructed raised beds, localised soil issues are incredibly prevalent. You might have filled your raised bed with a lovely mix of compost and topsoil, but pockets can still form, or issues can develop over time.
One of the biggest culprits I've encountered is localized soil compaction. Imagine you've planted your seedling, and perhaps a rogue boot pressed down near it, or the soil wasn't properly loosened in that specific spot. Over time, that compacted soil becomes a barrier, making it incredibly difficult for roots to spread out, access water, or absorb nutrients. I once had a 'Costoluto Fiorentino' tomato in my greenhouse that just wouldn't grow beyond a foot tall, despite all its neighbours reaching for the roof. When I carefully dug it up, I found its roots had hit a dense, hard pan of soil that had somehow formed right beneath it. It was like trying to grow in concrete!
Then there are nutrient lock-outs or deficiencies in isolated pockets. Even in a well-fed bed, it's possible for one small area to be poorer in essential nutrients, or for its pH to be off just enough to prevent a plant from absorbing what it needs. A plant might be surrounded by rich soil, but if its immediate root zone is depleted or has a wildly different pH, it simply can't thrive. I once mixed in some mushroom compost to a bed, but clearly didn't get it evenly distributed. One 'Black Beauty' courgette ended up in a slightly more acidic pocket, showing classic signs of iron deficiency while its siblings were dark green.
How to Diagnose: This is where you might need to get a little bit dirty and do some careful excavation. Gently dig down a few inches around the base of the struggling plant.
- Feel the soil: Is it rock hard and dense? That's compaction. Does it feel unusually dry or waterlogged compared to its surroundings?
- Smell the soil: A sour, anaerobic smell can indicate poor drainage and root rot.
- Observe texture and colour: Is there a visible difference in the soil layers or composition right around the plant? Perhaps a pocket of sand, or a lump of un-decomposed material?
Here's a breakdown of what to look for:
| Localized Soil Issue | Symptoms on Plant | Diagnosis in Soil | Randy's Experience & Fix |
|---|---|---|---|
| Compacted Soil | Stunted growth, yellowing, wilting despite watering. | Hard, dense soil around roots, difficult to push a finger into. | My 'Cherokee Purple' struggled until I carefully loosened the compacted clay around it with a fork. I now always dig a wider hole than the root ball and loosen the sides. |
| Nutrient Deficiency | Pale leaves, poor flowering/fruiting, specific discolouration. | Soil test shows low nutrients in that specific spot, or visual depletion. | My 'Thai Basil' once showed purple leaves (phosphorus deficiency) because a pocket of pure compost had rotted down too quickly, tying up nutrients. I added bone meal. |
| pH Imbalance | Nutrient lock-out symptoms (e.g., iron chlorosis), stunted growth. | Soil pH test shows extreme acidity or alkalinity in a small area. | A patch of spent lime from a building project near one of my 'Raspberry Ripple' potatoes caused severe yellowing. I carefully removed the soil and replaced it. |
| Poor Drainage | Wilting, yellowing, root rot, fungal issues. | Soil stays waterlogged, often smells sour or anaerobic. | One 'Red Russian' kale in a raised bed had a compacted layer at the bottom, trapping water. I had to lift it, break up the layer, and add grit. |
The Hidden Struggle: Diagnosing Root Damage & Restricted Growth
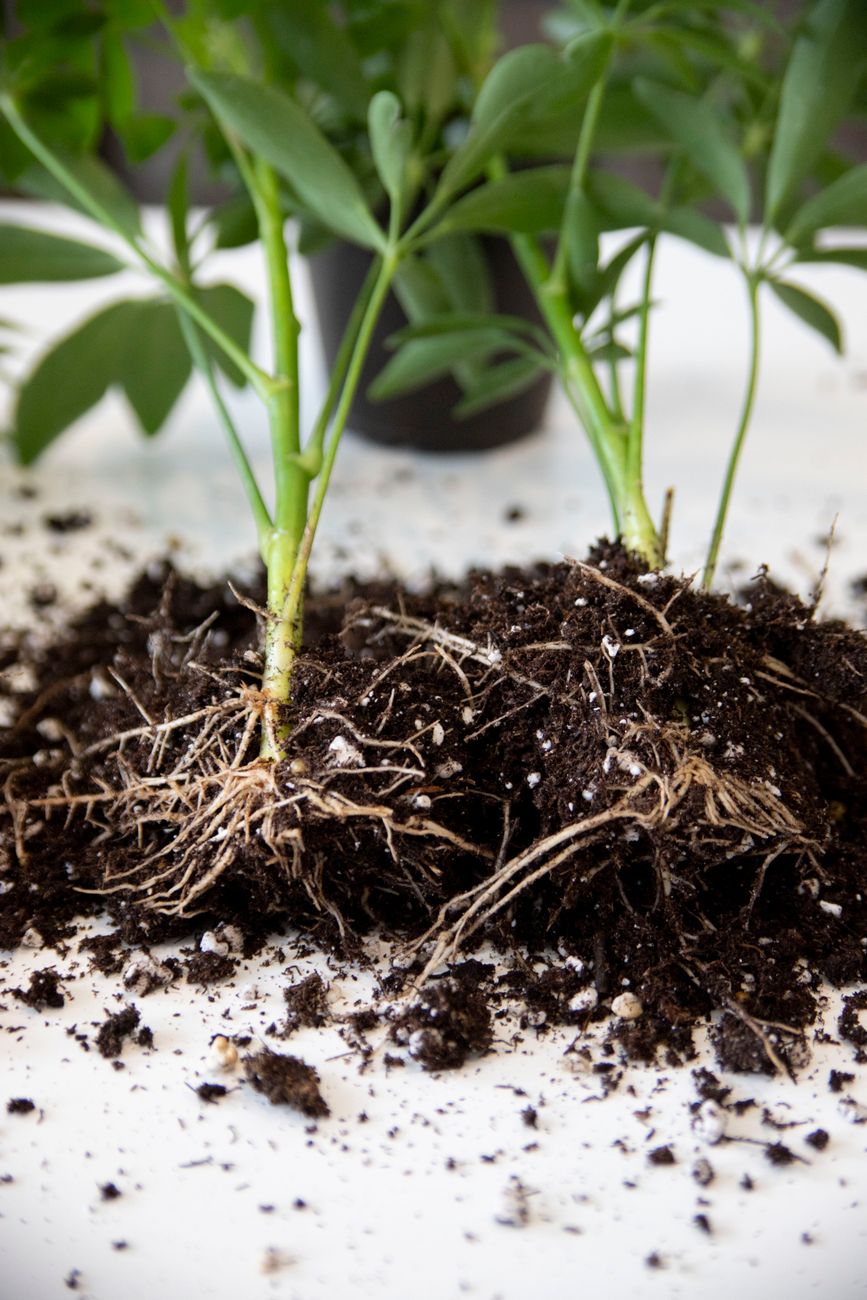
Even if your soil itself seems okay, the real issue might be happening directly at the plant's foundation: its roots. This is often the hardest to diagnose without disturbing the plant, but it's crucial. I've learned that sometimes the problem isn't the soil, but how the roots are interacting with it, or even physical damage they've sustained.
Physical Root Damage: This is more common than you might think. When transplanting, if the root ball is handled roughly, or if roots are torn, it can severely set back a plant. Last spring, I was in a hurry potting up some 'Marmande' tomato seedlings and accidentally snapped a good chunk of the taproot on one. That plant never fully recovered, staying small and spindly compared to its robust siblings. It's also possible for roots to be damaged by digging nearby (ever accidentally jabbed a trowel too close to a neighbouring plant?), or even by soil-dwelling pests like wireworms or grubs that have decided to feast on one particular root system.
Restricted Root Growth (Root-bound): This usually happens with container plants, but I've seen it in raised beds too, especially with fast-growing varieties. If a seedling was severely root-bound in its nursery pot before planting, those roots might struggle to break out and establish themselves in the new soil. They can continue to grow in a circular pattern, effectively "girdling" themselves and preventing outward expansion. The plant then becomes starved for water and nutrients, no matter how good the surrounding soil is. I had a 'Black Krim' tomato that stayed tiny for weeks; when I finally dug it up, the root ball was still exactly the shape of the pot it had come from, a dense, matted mess.
Localized Pests in the Root Zone: While we ruled out widespread pests, it's possible for specific soil-dwelling pests to target an individual plant's roots. Wireworms, for instance, can chew through roots, causing wilting and stunting without any visible signs above ground. This often happens if the plant is in an area that was previously grassy or weedy.
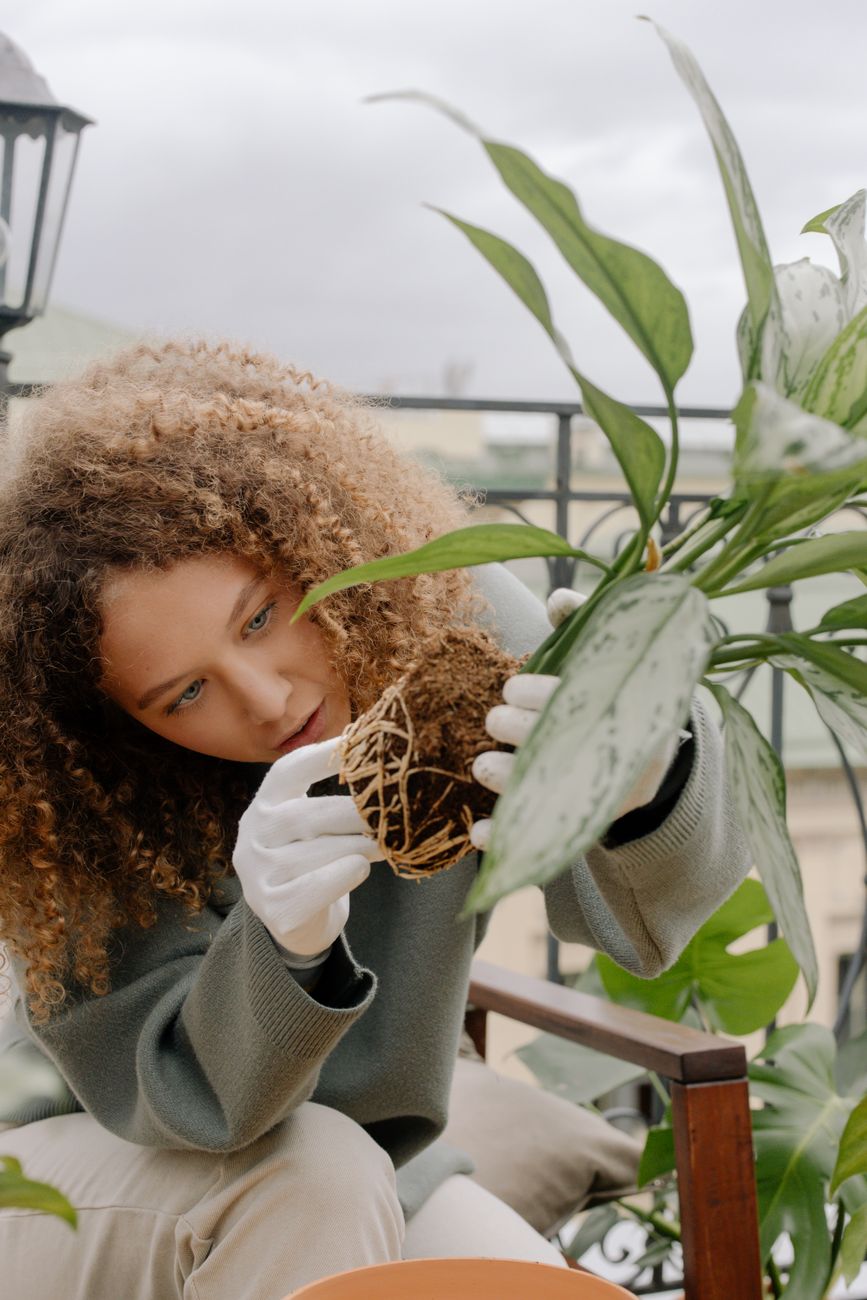
How to Diagnose: This requires a delicate touch. You'll need to carefully unearth the struggling plant, preferably on a cloudy day or in the evening to minimise stress.
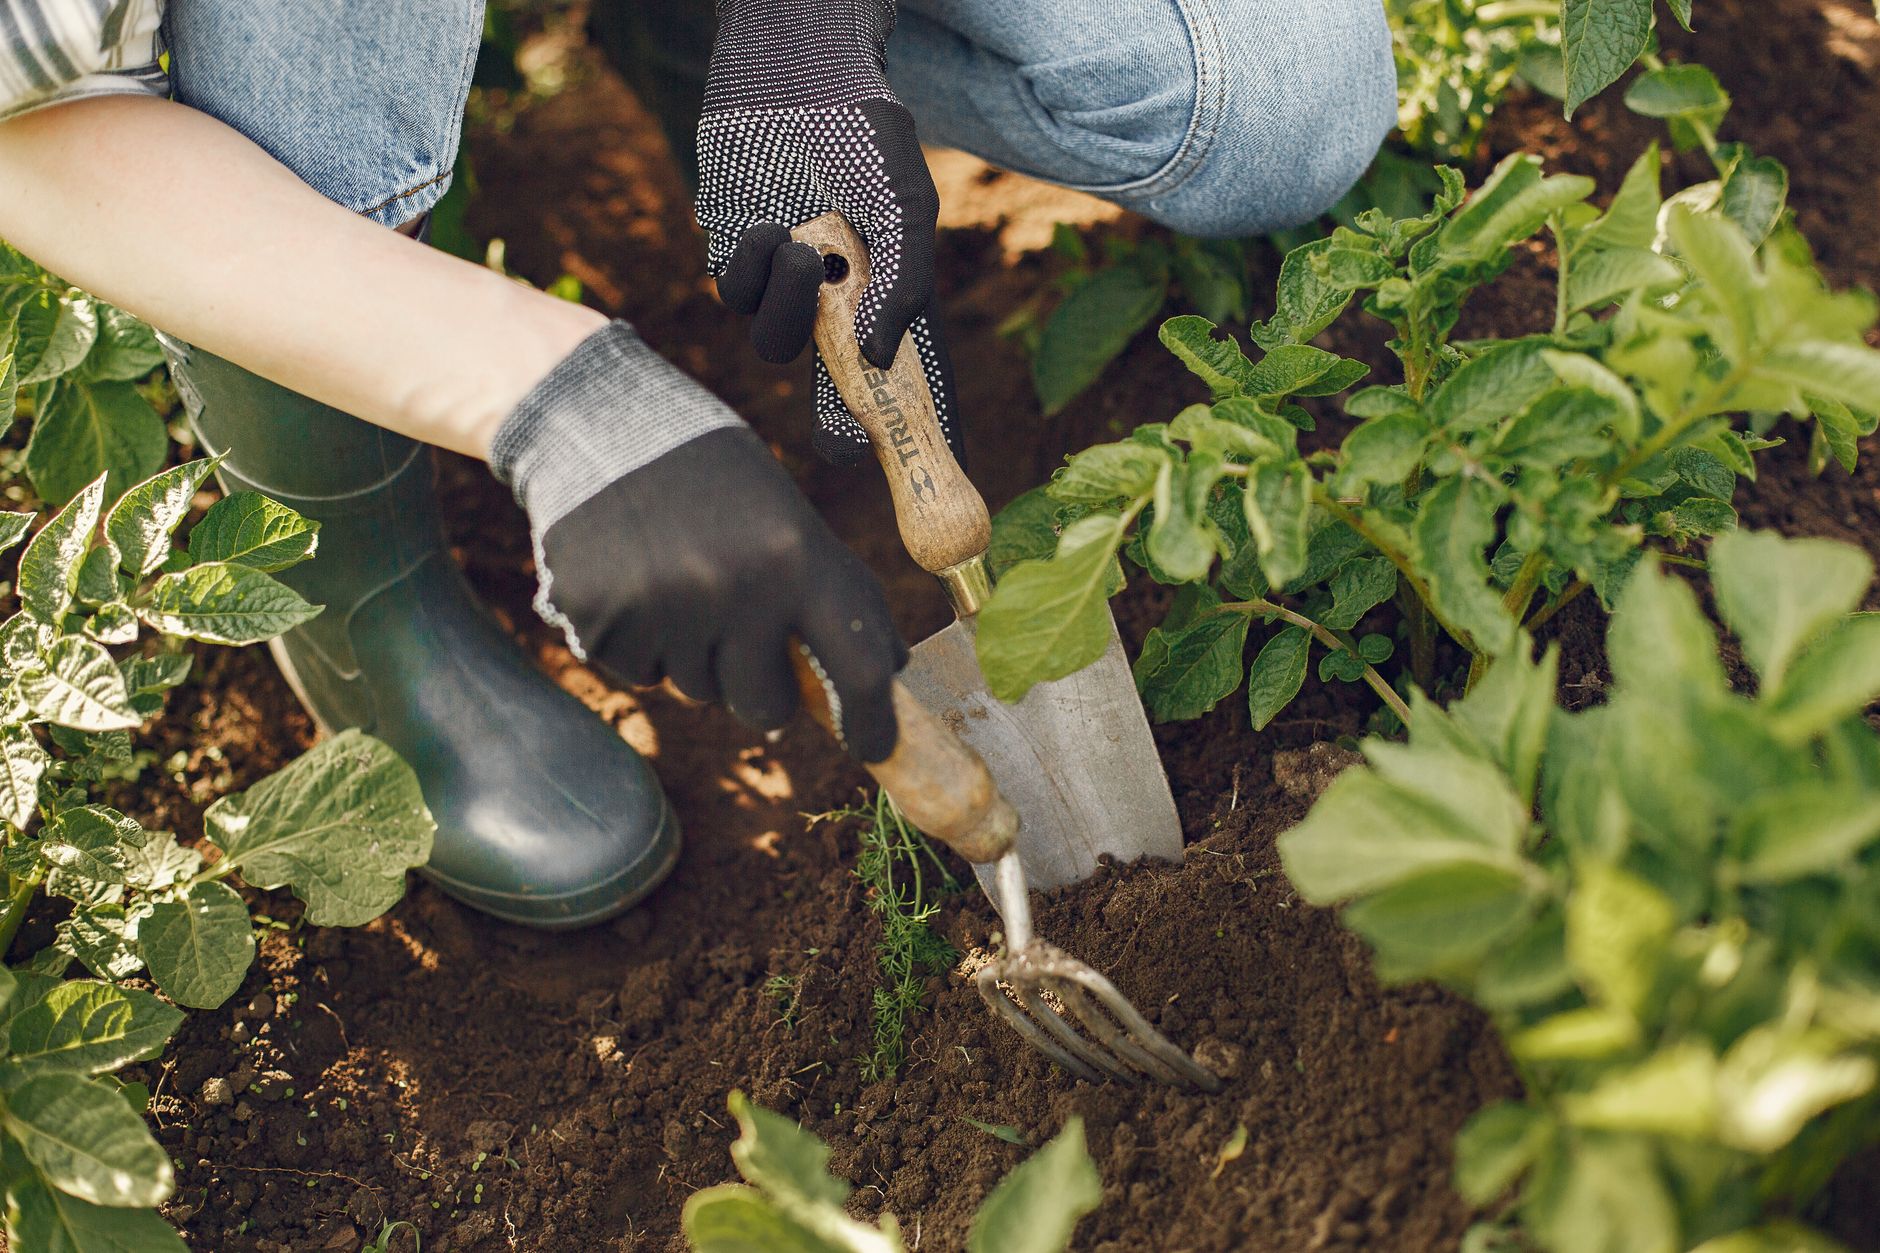
- Gently dig: Use a hand trowel or fork to carefully loosen the soil around the plant, slowly widening your circle until you can gently lift the entire root ball.
- Inspect the roots: Look for any signs of damage – snapped roots, chewed areas, or black/mushy sections (indicating rot). Are the roots circling tightly, still forming the shape of its original pot? Are they sparse and underdeveloped, or thick and healthy?
- Check for pests: Look closely for any grubs, wireworms, or other critters directly on the roots or in the immediate soil.
If you find damage or restriction, you can often try to salvage the plant by carefully teasing out circling roots, pruning away any damaged or rotting sections, and replanting into a new, well-prepared spot with fresh soil, ensuring the roots have plenty of room to spread.
Tailored Treatments: Amending Soil and Encouraging Root Recovery
Right, so we've dug around, we've observed, and we've hopefully pinpointed why that one plant is looking a bit sorry for itself. Now for the good bit: fixing it! This isn't about a blanket approach; it's about targeted intervention, like a micro-surgery for your garden bed.
Rescuing the Soil: A Localized Approach
If your diagnosis points to localized soil issues – be it compaction, nutrient deficiency, or an off-kilter pH – the good news is you can usually amend it without disturbing the entire bed. My approach here in the Midlands, especially with our often heavy clay, is all about gentle integration.
For compaction, I've found that carefully using a hand fork or even a narrow trowel around the drip line, gently loosening the soil without disturbing the main root ball, can work wonders. Then, I'll work in some really fine, well-rotted compost and horticultural grit. Last year, I had a 'Crimson Crush' tomato struggling in a raised bed (outside the greenhouse, a brave experiment!). The soil had settled badly after a particularly wet winter. I gently aerated around it, top-dressed with a good inch of my homemade compost, and within a few weeks, it perked right up and started setting fruit.
If it's a nutrient deficiency, a liquid feed is your best friend for quick absorption. I usually opt for a balanced organic feed, perhaps a seaweed extract or a comfrey tea I brew myself. The trick is to apply it directly around the struggling plant, not drenching the whole bed if only one plant is affected. For a 'Black Krim' tomato that was showing classic magnesium deficiency (yellowing between green veins on older leaves) in a corner of my greenhouse a couple of seasons back, a targeted Epsom salt foliar spray and a liquid feed sorted it out in about 10 days. For longer-term nutrient boosts, a handful of bonemeal (for phosphorus) or a slow-release granular feed can be worked into the topsoil, again, just around the affected plant.
pH issues are a bit trickier, but still manageable locally. If it's too acidic for your plant, a sprinkling of horticultural lime can help – but be careful with this, as too much can lock up other nutrients. If it's too alkaline, a touch of elemental sulphur or an acidic compost (like ericaceous if you're growing acid-lovers) can bring it down. I always recommend a soil test before making big pH adjustments. I learned this the hard way with some blueberries I tried to grow directly in a raised bed; they hated the neutral soil, and it took me a season to realize and correct it with targeted ericaceous compost and feed.
Nurturing Damaged Roots Back to Health
If root damage is the culprit, your focus needs to be on reducing stress and encouraging new root growth.
- Reduce Competition: Gently remove any weeds growing very close to the plant that might be competing for water and nutrients. A light mulch of compost can suppress weeds and keep the soil moist.
- Consistent Moisture: Damaged roots struggle to take up water. Ensure the plant has consistent, even moisture – not waterlogged, but never bone dry. I often check the soil with my finger daily during dry spells. A light, frequent watering regimen is better than sporadic drenching.
- Avoid Fertiliser Overload: This is crucial. Damaged roots are sensitive. Avoid strong chemical fertilisers that can burn delicate new root hairs. Stick to very dilute liquid feeds or slow-release organic options, if any. Your goal is recovery, not rapid growth.
- Consider Pruning: Sometimes, if a plant is severely struggling with root damage, you might need to prune back some of its foliage. This reduces the demand on the compromised root system, allowing the plant to focus its energy on growing new roots. I've had to do this with a few basil plants in the greenhouse that got a bit too enthusiastic in their pots and became root-bound; a trim of the top growth helped them recover once repotted.
- Patience: This is perhaps the hardest treatment! Root recovery takes time. Don't expect miracles overnight. Keep observing, keep providing optimal conditions, and often, with a bit of Randy's loving care, your plant will bounce back.
Preventing Future Failures: Best Practices for Established Plants
The best cure, as my mum always says, is prevention! While we've talked about fixing issues for established plants, a lot of these localized problems can be avoided entirely with good practices from the start, and ongoing mindful care. This is where my IT background kicks in – thinking about systems and preventative maintenance!
The Power of Pre-Planting Preparation
In my 800 sq ft Midlands garden, I've learned that investing time before a seed is sown or a seedling is planted pays dividends. This is especially true for raised beds, where you have more control over the soil.
- Thorough Soil Preparation: Before planting anything, I always dig in copious amounts of good quality, well-rotted compost. If I'm planting heavy feeders like my 'Charlotte' potatoes or 'Costata Romanesco' courgettes, I'll also add some balanced organic fertiliser or granular chicken manure pellets. For my clay-heavy areas, I'll incorporate a generous amount of horticultural grit and mushroom compost to improve drainage and structure. This ensures a consistent, nutrient-rich, and well-draining environment for all plants.
- Deep Digging (Where Appropriate): In new beds, or when rotating crops, I'll often double-dig or at least loosen the soil down to 12-18 inches. This breaks up any compaction layers and encourages roots to grow deep and wide from day one.
- pH Testing: I keep a simple soil pH test kit handy. Knowing your baseline pH means you can amend the entire bed before planting, ensuring it's suitable for what you plan to grow. Trying to adjust pH for one plant among many later on is a real faff.
- Consider Root Space: Don't overcrowd! I've been guilty of this in my early gardening days, trying to squeeze in 'just one more' tomato. Always check recommended spacing for mature plants. Roots need room to spread out without competing intensely with their neighbours.
Ongoing Vigilance: Nurturing Your Garden's Underdogs
Even with perfect preparation, established plants still need attention. Think of it as health checks for your green family!
- Regular Observation: This is probably my most important tip. Walk your garden daily, or at least every other day. Look at each plant. Are the leaves the right colour? Is the growth vigorous? Are there any subtle changes? Early detection is key.
- Smart Watering: Water deeply and less frequently to encourage deep root growth. Check soil moisture before watering. In our unpredictable British summers, I often find myself adjusting my watering schedule constantly. My greenhouse 'Gardener's Delight' tomatoes, for instance, need a good soak every other day in a heatwave, but a heavy downpour outside might mean the outdoor plants can wait.
- Strategic Feeding: Don't just feed everything all the time. Target feeds to plants that need it or are heavy feeders at critical growth stages (e.g., fruiting tomatoes, leafy greens). Use slow-release options or dilute liquid feeds to avoid nutrient shock.
- Mulching: A good layer of organic mulch (compost, straw, bark chips) does so much good. It suppresses weeds, retains moisture, moderates soil temperature, and slowly breaks down to feed the soil. This creates a stable, healthy environment for roots.
Pre-Planting Preparation vs. Post-Planting Intervention
Here's a quick comparison of why being proactive is almost always better:
| Feature | Pre-Planting Preparation (Proactive) | Post-Planting Intervention (Reactive) |
|---|---|---|
| Effort & Time | Significant initial effort, less ongoing stress | Less initial effort, but more complex, urgent, and stressful later |
| Effectiveness | Prevents issues, promotes strong, healthy growth from the start | Can fix issues, but plant may be permanently stunted or weakened |
| Root Health | Encourages deep, widespread root systems | Risks further damage to already struggling roots |
| Soil Uniformity | Creates consistent, ideal conditions throughout the planting area | Localized amendments may not fully integrate, leaving inconsistencies |
| Plant Stress | Minimal to none | High, as plant is already struggling |
| Long-term Benefits | Healthier, more productive plants; resilient garden ecosystem | Patch fixes; plant may remain susceptible to future issues |
| Randy's Experience | My go-to for happy tomatoes and a thriving veg patch! | A necessary skill, but one I try to avoid needing too often. |
Nurturing Your Garden's Underdogs: A Summary
Gardening, for me, is a constant lesson in observation, patience, and problem-solving. That one underperforming plant isn't a failure; it's an opportunity. It's a chance to get to know your soil better, to understand the intricate world beneath the surface, and to practice the art of gentle intervention.
We've covered a fair bit today, haven't we? From ruling out the usual suspects like pests and general watering woes, to really digging into the localized issues: those tricky soil deficiencies and the often-hidden root damage. Remember, the key is always to start with careful observation and then move to a targeted, gentle approach. Don't be afraid to get your hands dirty and investigate!
My 5+ years of intensive gardening here in the UK Midlands have taught me that every plant, even the struggling ones, has something to teach us. I've certainly made my share of mistakes – from planting too deep to forgetting to amend a particularly stubborn patch of clay – but each one has made me a better, more observant gardener.
So, next time you spot that lone straggler, don't despair. See it as a challenge, an invitation to play detective in your own patch. With a bit of careful diagnosis and some tailored love, you can often turn that underperforming underdog into a thriving star. Your garden, and your plants, will thank you for it.
I'd absolutely love to hear about your own experiences with struggling plants. Have you managed to revive a seemingly lost cause? What localized issues have you encountered in your UK garden, and how did you tackle them? Drop a comment below – let's share our stories and learn from each other! Happy gardening, folks!
