
Ah, mulch! The gardener's best friend, right? It suppresses those pesky weeds, keeps the soil moist on a scorching British summer day (yes, we get those sometimes!), and helps regulate soil temperature. I swear by it in my 800 sq ft Midlands garden, especially in my raised beds where things can dry out quicker. I pile on the good stuff – straw, wood chips, spent compost – around my heirloom tomatoes, my 'Butternut' squash, and even my herb patch. It's a game-changer for reducing watering frequency and keeping the soil healthy.
But here's the rub, and it's a frustration I’ve heard from countless fellow UK gardeners, and certainly experienced myself: sometimes, our best intentions with a thick, protective layer of mulch can actually prevent the very moisture we're trying to conserve from reaching our thirsty plants' roots. I remember one particularly dry spell a couple of summers ago here in the Midlands – the kind where the hosepipe ban was looming – and my 'Costoluto Fiorentino' tomatoes, usually so robust, started looking decidedly droopy. I was watering diligently, or so I thought, but when I dug down, the soil just inches below the mulch was bone dry. It was a proper head-scratcher, a real 'mulch paradox' moment that had me questioning everything I thought I knew about watering!
The Mulch Paradox: Protecting Soil, Thwarting Thirsty Roots
For years, I've preached the gospel of mulch to anyone who'd listen. And honestly, I still do! My journey from an IT desk to a full-time garden obsessor has been punctuated by learning curve after learning curve, and mulch was one of my earliest, biggest 'aha!' moments for improving soil health and reducing weeding. In my UK garden, particularly with our often unpredictable weather – think sudden downpours followed by prolonged dry spells – a good 5-10cm layer of organic mulch is indispensable. It protects the soil structure, feeds the beneficial microbes as it breaks down, and keeps those annoying bindweed seedlings from getting a foothold.
However, that thick, protective barrier, especially if it’s been allowed to dry out on top, can become surprisingly resistant to water penetration. I learned this the hard way with my 'Sungold' tomatoes in the greenhouse; despite regular watering from above, they just weren't thriving. I'd see the water bead up and run off the surface of the wood chip mulch, especially if I was a bit quick with the watering can, rather than soaking straight down to the root zone. It's like trying to pour water onto a dry sponge – it just doesn't want to absorb it at first. This is especially true after a long dry spell when the top layer of mulch can become almost hydrophobic. The irony wasn't lost on me: I was putting in all this effort to conserve moisture, only for the very tool I was using to become a barrier. It was a challenge I was determined to solve for my thirsty plants, particularly those deep-rooted vegetables that need consistent moisture, like my 'Kelsae' onions and those glorious 'Cherokee Purple' tomatoes.
Is Your Mulch Blocking Essential Moisture? Signs of Underwatered Plants
Spotting an underwatered plant can be tricky, especially when you're confident you've been watering. You might assume a droopy leaf is a sign of too much water, or even a disease. But in a mulched bed, it's worth getting your hands dirty and checking what's really happening beneath the surface. I've had many moments in my UK garden, especially during our notoriously changeable British summers, where I've misdiagnosed a stressed plant. My 'Forellenschluss' lettuce, for example, is usually so vibrant, but I've seen it wilt and develop crispy edges despite what I thought was adequate watering.
The key is to look for a combination of symptoms and, crucially, to investigate the soil itself. A plant that’s struggling to get enough moisture through a thick mulch layer will display very specific signs. What works here in Britain, where we often have cooler morning temperatures and then sudden bursts of sun, is to observe your plants carefully throughout the day. Early morning wilting, for instance, is a classic sign of a problem.
Here’s a quick guide to help you differentiate between common plant stresses, based on what I’ve observed over my five years of intensive gardening here in the Midlands:
| Symptom | Underwatered Plant (Mulched Garden) | Properly Watered Plant | Overwatered Plant |
|---|---|---|---|
| Leaves | Wilting, drooping (often recovers overnight initially), crispy edges, yellowing from bottom up, stunted growth. | Turgid, vibrant green, strong stems, healthy new growth. | Yellowing (often uniform or top-down), soft/mushy, blistering, stunted growth. |
| Soil under Mulch | Bone dry, dusty, cracks visible (if severe). | Moist but not soggy, crumbly, earthy smell. | Constantly wet, often smelly, algae growth on surface. |
| Growth Habit | Slowed, stunted, fewer flowers/fruit, premature bolting (e.g., spinach). | Robust, consistent growth, good fruit set. | Stunted, roots may rot (leading to wilting despite wet soil). |
| Overall Appearance | Lifeless, dull, stressed, often smaller than expected. | Lush, healthy, vigorous. | Limp, sickly, may show signs of fungal issues. |
| When Symptoms Appear | Often worse during hottest part of day, may recover overnight slightly. | Consistent all day. | Consistent, often worsens over time regardless of temperature. |
One mistake I often made early on was assuming that if the top of the mulch felt damp, the soil underneath was fine. Not so! I’ve seen my 'Black Krim' tomatoes look absolutely parched, despite me having just watered them, only to dig down and find the soil a good 10cm deep was like concrete. Always check the soil moisture below your mulch layer. Push your finger deep into the soil (past the mulch) or use a moisture meter. If it feels dry down there, your mulch is likely doing too good a job of deflecting water.
Beyond Surface Sprinkling: How Water Behaves Under Mulch Layers
Understanding how water interacts with mulch is key to cracking this problem. It's not just about pouring water on; it's about understanding the physics of it, especially with our diverse UK mulching materials and rainfall patterns. When you simply sprinkle water over a thick, dry layer of wood chips or straw, several things can happen that prevent it from reaching the roots.
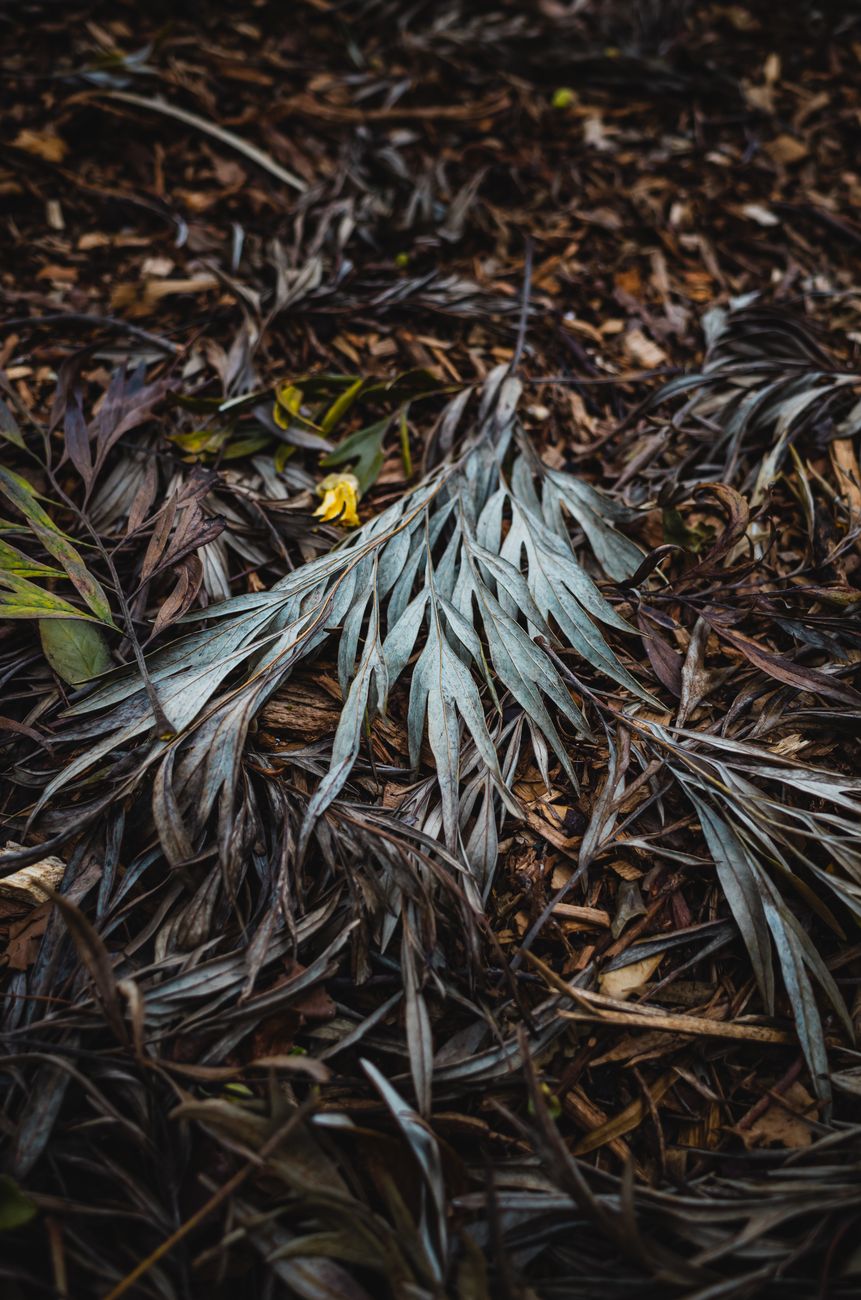
Firstly, surface tension. Dry organic mulches, particularly wood chips or bark, can become somewhat hydrophobic on their top surface after a long dry spell. The water beads up, much like on a freshly waxed car, and struggles to penetrate. Instead of soaking in, it often runs off the edges of your raised beds or finds the path of least resistance around the base of plants, potentially missing the root zone entirely. I’ve seen this happen countless times in my greenhouse, where the recycled plastic borders of my raised beds act like a channeling system for runoff.
Secondly, preferential flow. Water, being lazy, will always take the easiest route. If your mulch isn't uniformly porous, or if it's settled into dense layers, water will find the cracks, the small gaps, or the areas where it can move most freely. This means large sections of the soil underneath could remain dry, creating dry pockets even if other areas are getting some moisture. This is particularly noticeable in my vegetable patch after a heavy downpour; the top of the mulch might look saturated, but when I probe, there are still dry patches underneath. Our British rain, while often plentiful, isn't always gently soaking; sometimes it's a torrential deluge that barely penetrates before running off.
Finally, and this is crucial for us UK gardeners, the sheer volume. A light sprinkling might feel like watering, but it often only wets the top layer of mulch itself, or perhaps the very top inch of soil. Deep-rooted plants, like my beloved 'Moneymaker' tomatoes or my 'Autumn King 2' carrots, need moisture much further down, often 15-30cm (6-12 inches) deep. Surface sprinkling simply isn't enough to achieve this, especially through a thick layer of moisture-absorbing mulch. I've learned that a quick five-minute hose down is rarely effective for truly quenching a thirsty plant in a mulched bed here in Britain.
Strategic Deep-Watering Methods for Mulched Gardens in the UK
So, what's a passionate UK gardener to do? The answer, I’ve found through much experimentation in my own Midlands plot, isn't to ditch the mulch – that would be madness! – but to adapt our watering strategies. The goal is simple: get the water below the mulch layer and deep into the root zone. Over the years, I've tried various methods, some successful, some less so given our British climate and my own busy schedule. What works here in Britain often involves a bit more intention than just waving a hose around.
Here are some of the strategic deep-watering methods I've personally tested and refined in my garden:
Slow and Steady Soaking with a Hose or Watering Can
This is the simplest method, but requires patience. Instead of a quick deluge, deliver water slowly and steadily.
- How I do it: I'll often place the end of my hosepipe (with a very low flow) directly onto the soil underneath the mulch near the base of a plant, or use a watering can with a rose removed to direct the stream. For my raised beds, I might leave the hose trickling for 10-15 minutes in one spot before moving it.
- Randy's Tip: For individual plants, particularly newly planted ones or those looking a bit stressed, I find creating a small 'watering basin' by pulling the mulch back slightly around the base of the plant helps. Then, I fill this basin slowly, letting the water seep in before covering it back up. This worked wonders for my 'Early Purple Sprouting Broccoli' last spring.
Watering Stakes and Pipes
These clever devices deliver water directly to the root zone, bypassing the mulch entirely.
- How I do it: I've repurposed old plastic bottles with holes drilled in the bottom, burying them near my 'San Marzano' tomatoes in the greenhouse. For larger plants like my greenhouse cucumbers, I’ve used purpose-made watering stakes (essentially a perforated pipe) pushed into the soil. I then fill these with water from my water butt.
- Randy's Tip: For really deep-rooted plants, I use a piece of 50mm diameter PVC pipe, cut to about 30-40cm length, with a few holes drilled in the bottom 10cm. I bury this pipe vertically next to my squash plants or fruit bushes, leaving about 5cm poking out above the mulch. Filling this pipe ensures the water goes straight down.
Olla Irrigation Systems
An ancient, but incredibly effective, method for deep watering. Ollas are unglazed terracotta pots buried in the soil that slowly release water.
- How I do it: I experimented with these last summer for my 'Hungarian Hot Wax' peppers in one of my raised beds. I buried the olla pot with just its neck exposed, filled it with water, and watched as it slowly seeped out into the surrounding soil. The plants only take what they need, which is brilliant for water conservation, especially during those unpredictable British heatwaves.
- Randy's Tip: I source my ollas from a local pottery supplier; they don't need to be fancy. Just make sure they're unglazed terracotta so the water can diffuse through the pores. They need refilling every few days, depending on plant needs and weather.
Drip Irrigation Systems (Under Mulch)
For larger areas or multiple raised beds, a drip system placed under the mulch is incredibly efficient.
- How I do it: I've got a simple drip line running through my main vegetable raised beds. I lay it out after planting, making sure the emitters are near the base of the plants, and then I apply my mulch over the top. This way, every drop of water goes exactly where it's needed, straight into the soil. I connect it to my main water butt via a small pump.
- Randy's Tip: Invest in a timer for your drip system. It saves so much time and ensures consistent watering, even when you're busy or away. I've found a short, daily watering cycle (e.g., 30 minutes) works best for my 'Charlotte' potatoes and 'Alderman' peas during dry spells here in the UK.
Here’s a comparison of these methods, based on my hands-on experience in my Midlands garden:
| Method | Pros (UK Gardening Context) | Cons (UK Gardening Context) | Best For (UK Applications) |
|---|---|---|---|
| Slow Soaking (Hose/Can) | Cost-effective, no special equipment, good for small areas, ensures deep penetration. | Time-consuming, easy to forget, requires manual effort, less precise. | Individual thirsty plants, small raised beds, container plants. |
| Watering Stakes/Pipes | Direct root zone delivery, bypasses mulch, uses recycled materials (DIY). | Can be fiddly to install, need regular refilling, may not suit very large areas. | Tomatoes (especially in greenhouse), squash, fruit bushes, deep-rooted veg. |
| Olla Irrigation Systems | Extremely water-efficient, consistent moisture, reduces surface evaporation, low tech. | Initial cost/sourcing of ollas, needs regular refilling, not suitable for all soil types. | Peppers, chillies, smaller flowering plants, herbs in raised beds. |
| Drip Irrigation (Under Mulch) | Highly efficient, automated (with timer), precise, covers large areas, conserves water. | Higher initial setup cost, requires some technical knowledge, potential for blockages if water isn't filtered. | Larger raised beds, row crops, greenhouse crops, areas with consistent planting. |

The important thing to remember is that consistent, deep watering is far more beneficial than frequent, shallow watering. This is particularly true when you’re battling a thick mulch layer and trying to encourage strong, healthy roots in our diverse British climate. I’ve learned that observing your plants, checking the soil below the mulch, and adapting your strategy is the true mark of a successful gardener here in the UK. Happy watering!
Essential Kit: Tools for Efficient Deep Watering and Mulch Management
Right, so we’ve talked a lot about why and how to deep water, but let's get down to the brass tacks: what kit do you actually need? Over my five years of intensive gardening here in the UK Midlands, I've tried pretty much everything, from fancy gadgets to old-school methods. I’ve found that the right tools don't just make the job easier; they make it more effective, especially when you're battling our often-unpredictable British weather and trying to get water through a decent layer of mulch.
My Go-To Tools for Getting Water Where It Needs to Be
For deep watering, it’s not just about dumping water on top. You need to encourage it to penetrate. For mulch management, it’s about gentle movement without disturbing the soil structure too much. Here’s what I keep in my shed and why:
- Watering Cans (with rose and without): A classic for a reason. Great for targeted watering around individual plants, especially young ones or those in pots. Removing the rose gives you a concentrated stream for direct root watering through a mulch hole. I’ve got a sturdy 10-litre plastic one that gets a serious workout.
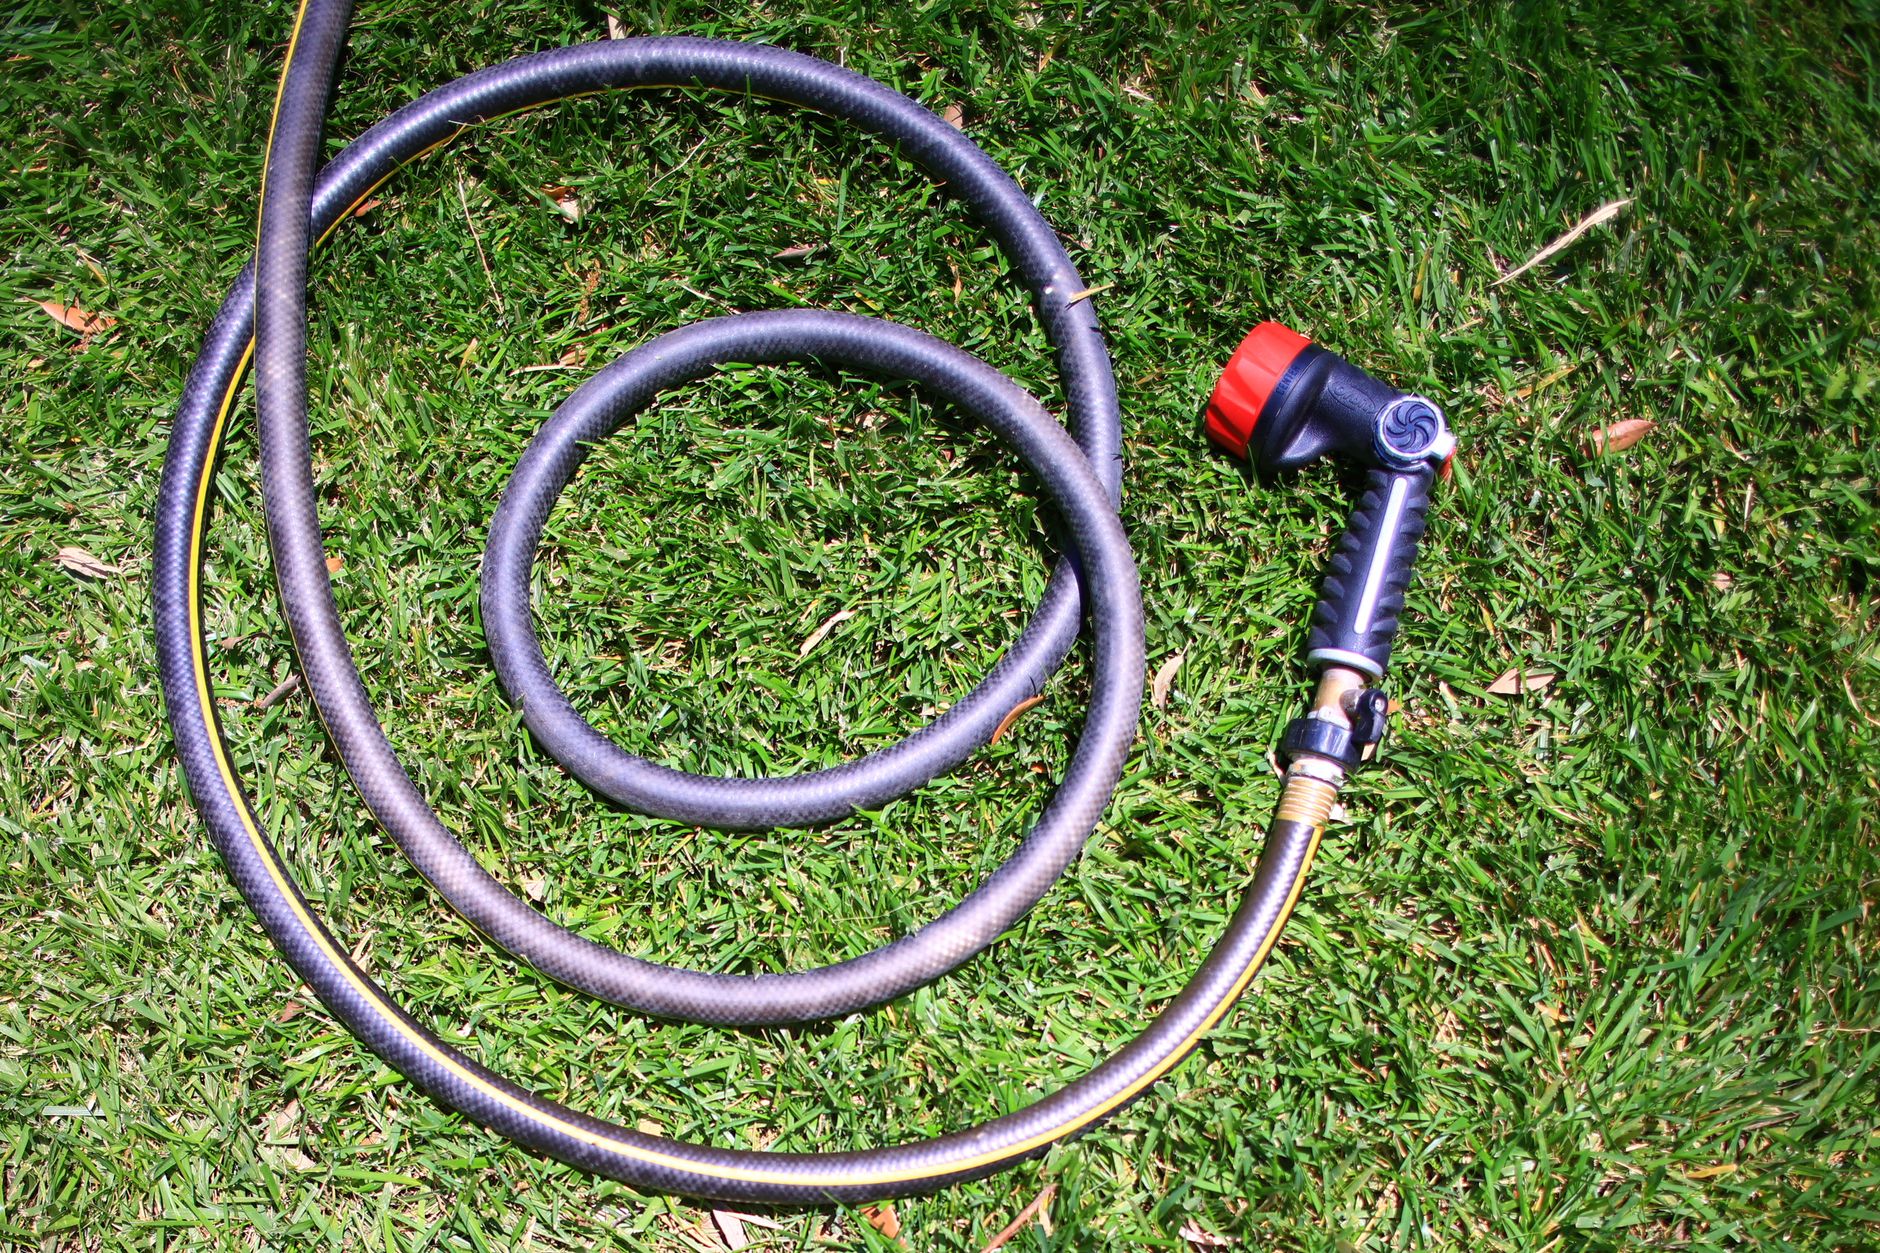
- Watering Wand: This has been a game-changer for me. It’s essentially a long extension for your hose, often with a gentle shower head. The length means I can reach right into the middle of my raised beds without trampling anything, and the angle allows me to direct water down to the base of plants, gently lifting the mulch if needed.
- Soaker Hoses/Drip Irrigation: For my bigger raised beds, especially where I grow thirstier crops like my 'San Marzano' tomatoes in the greenhouse or my 'Charlotte' potatoes outside, I swear by soaker hoses. They deliver water slowly and directly to the soil, minimising evaporation and ensuring deep penetration. They're a bit of an upfront investment but save so much time and water in the long run.
- Soil Moisture Meter: Honestly, this sounds a bit techy for a gardener, but coming from an IT background, I appreciate data! It gives me an objective reading of how wet the soil is below the surface, which is invaluable under thick mulch. No more guessing if my 'Sungold' tomatoes are truly hydrated or just surface-damp.
- Digging Fork/Hand Trowel: Not for watering, but crucial for mulch management. Sometimes you need to gently lift or move mulch to check soil moisture, or to create a small watering basin around a plant. A fork is great for aerating the soil lightly if it’s become compacted under a heavy mulch layer, too.
To help you decide what might suit your UK garden, I’ve put together a quick comparison of some of my favourite tools:
| Tool Name | Randy's Experience (Pros for UK, Cons for UK) | Best Use Case (Specific UK Plant/Bed Type) | Cost (Relative) |
|---|---|---|---|
| Watering Can | Pros: Versatile, no hose needed, good for precise application. I use it daily. Cons: Time-consuming for large areas, heavy when full (my back knows this!), can lead to surface runoff if not applied slowly. | Individual container plants, newly planted seedlings (e.g., 'Cosmic Purple' carrots), targeted watering in dense beds. | £ |
| Watering Wand | Pros: Excellent reach for deep beds, gentle flow, reduces bending. Saves my knees! Cons: Requires hose connection, can still cause surface disturbance if flow is too strong. | Raised beds with established plants (e.g., 'Moneymaker' tomatoes, courgettes), reaching rear of greenhouse beds. | ££ |
| Soaker Hose/Drip Kit | Pros: Most efficient for deep, consistent watering, minimal evaporation, hands-off. Great for those dry spells we get. Cons: Upfront cost, can get clogged with hard water (a common UK issue), needs careful layout and pressure regulation. | Large raised beds, greenhouse tomatoes ('Ailsa Craig'), long rows of thirsty veg (e.g., French beans, squash). | £££ |
| Soil Moisture Meter | Pros: Takes the guesswork out of watering, prevents over/under-watering. Crucial for mulch layers. Cons: Cheap ones can be unreliable, needs to be inserted deeply for accurate readings. | Anywhere you have mulch and need to know the true soil moisture, especially valuable for heat-loving plants in the greenhouse. | £-££ |
| Digging Fork/Hand Trowel | Pros: Essential for gentle mulch management, checking soil, and creating small watering basins. Every gardener needs these. Cons: Not a watering tool directly, requires manual effort. | Moving mulch, checking soil moisture, planting new additions, light aeration in compacted areas. | £ |
When and How Much? Tailoring Deep Watering to UK Weather and Plant Needs
This is where the art meets the science, and where our glorious, often infuriating, British climate really throws a spanner in the works. In my 800 sq ft Midlands garden, I've learned that there's no fixed schedule for watering. It's all about observation, understanding your plants, and reacting to what the sky decides to do that day!
Reading the Signs: My UK Watering Rhythm
When I first started, I used to water every other evening, come rain or shine. Big mistake! I ended up with soggy, unhappy plants one week and parched, wilting ones the next, especially in the variable summers we get here. I learned the hard way that deep, infrequent watering is almost always better than shallow, frequent sprinkles. This encourages roots to grow down, seeking moisture, rather than staying near the surface where they're vulnerable to drying out.
- The Finger Test (My First Line of Defence): Despite having a moisture meter, I still rely on my finger. Push it deep into the soil (past the mulch!) – 2-3 inches down. If it feels dry, it's time to water. If it's still damp, hold off. This is particularly important for my raised beds which can dry out quicker than in-ground plots.
- Plant Language: Plants will tell you when they’re thirsty. Wilting leaves, especially in the morning or evening (midday wilt can sometimes just be heat stress), are a clear sign. My greenhouse 'Gardener's Delight' tomatoes will dramatically droop when they're parched, but perk up beautifully after a good drink.
- UK Weather Watch: This is paramount. A glorious sunny spell for five days? I'm watering. A week of drizzle? I'm probably not, but I'll still check the soil under the mulch because sometimes that surface rain doesn't penetrate. We often get these teasing light showers that just wet the mulch and don't reach the roots. I've been caught out by this more times than I care to admit!
- Plant-Specific Thirst:
- Thirsty Crops: My tomatoes (especially in the greenhouse), courgettes, squash, and brassicas need consistent, deep watering. During a hot UK summer, my greenhouse tomatoes might get 10-15 litres each per week, delivered slowly via soaker hose.
- Moderate Drinkers: Root vegetables like carrots ('Amsterdam Forcing'), beetroot, and most herbs are happy with less frequent but still deep watering.
- Drought Tolerant: Lavender, rosemary, and some ornamental grasses in my herb bed barely get watered once established, relying mostly on rainfall.
How Much is Enough? Aiming for Penetration
When I water, I aim for the moisture to penetrate at least 6-8 inches deep for most established plants. For deep-rooting vegetables like parsnips or my prize-winning 'King Edward' potatoes, I want it even deeper, 10-12 inches.
- Slow and Steady: This is the mantra. Whether it's a watering can without the rose, a watering wand, or a soaker hose, the key is a slow flow. This prevents runoff, allows the water to percolate through the mulch, and ensures it soaks down rather than spreading wide. I’ve found that setting my soaker hose on a timer for 30-45 minutes, two to three times a week during dry spells, works wonders for my big beds.
- Morning is Best: I always try to water in the early morning. This gives the plants time to absorb the moisture before the heat of the day causes evaporation, and it means the foliage dries off, reducing the risk of fungal diseases – especially important in our often-damp UK climate. Watering in the evening can be okay, but leaving leaves wet overnight can invite trouble.
Mulch Makeover: Adjusting Your Layers for Maximum Moisture Absorption
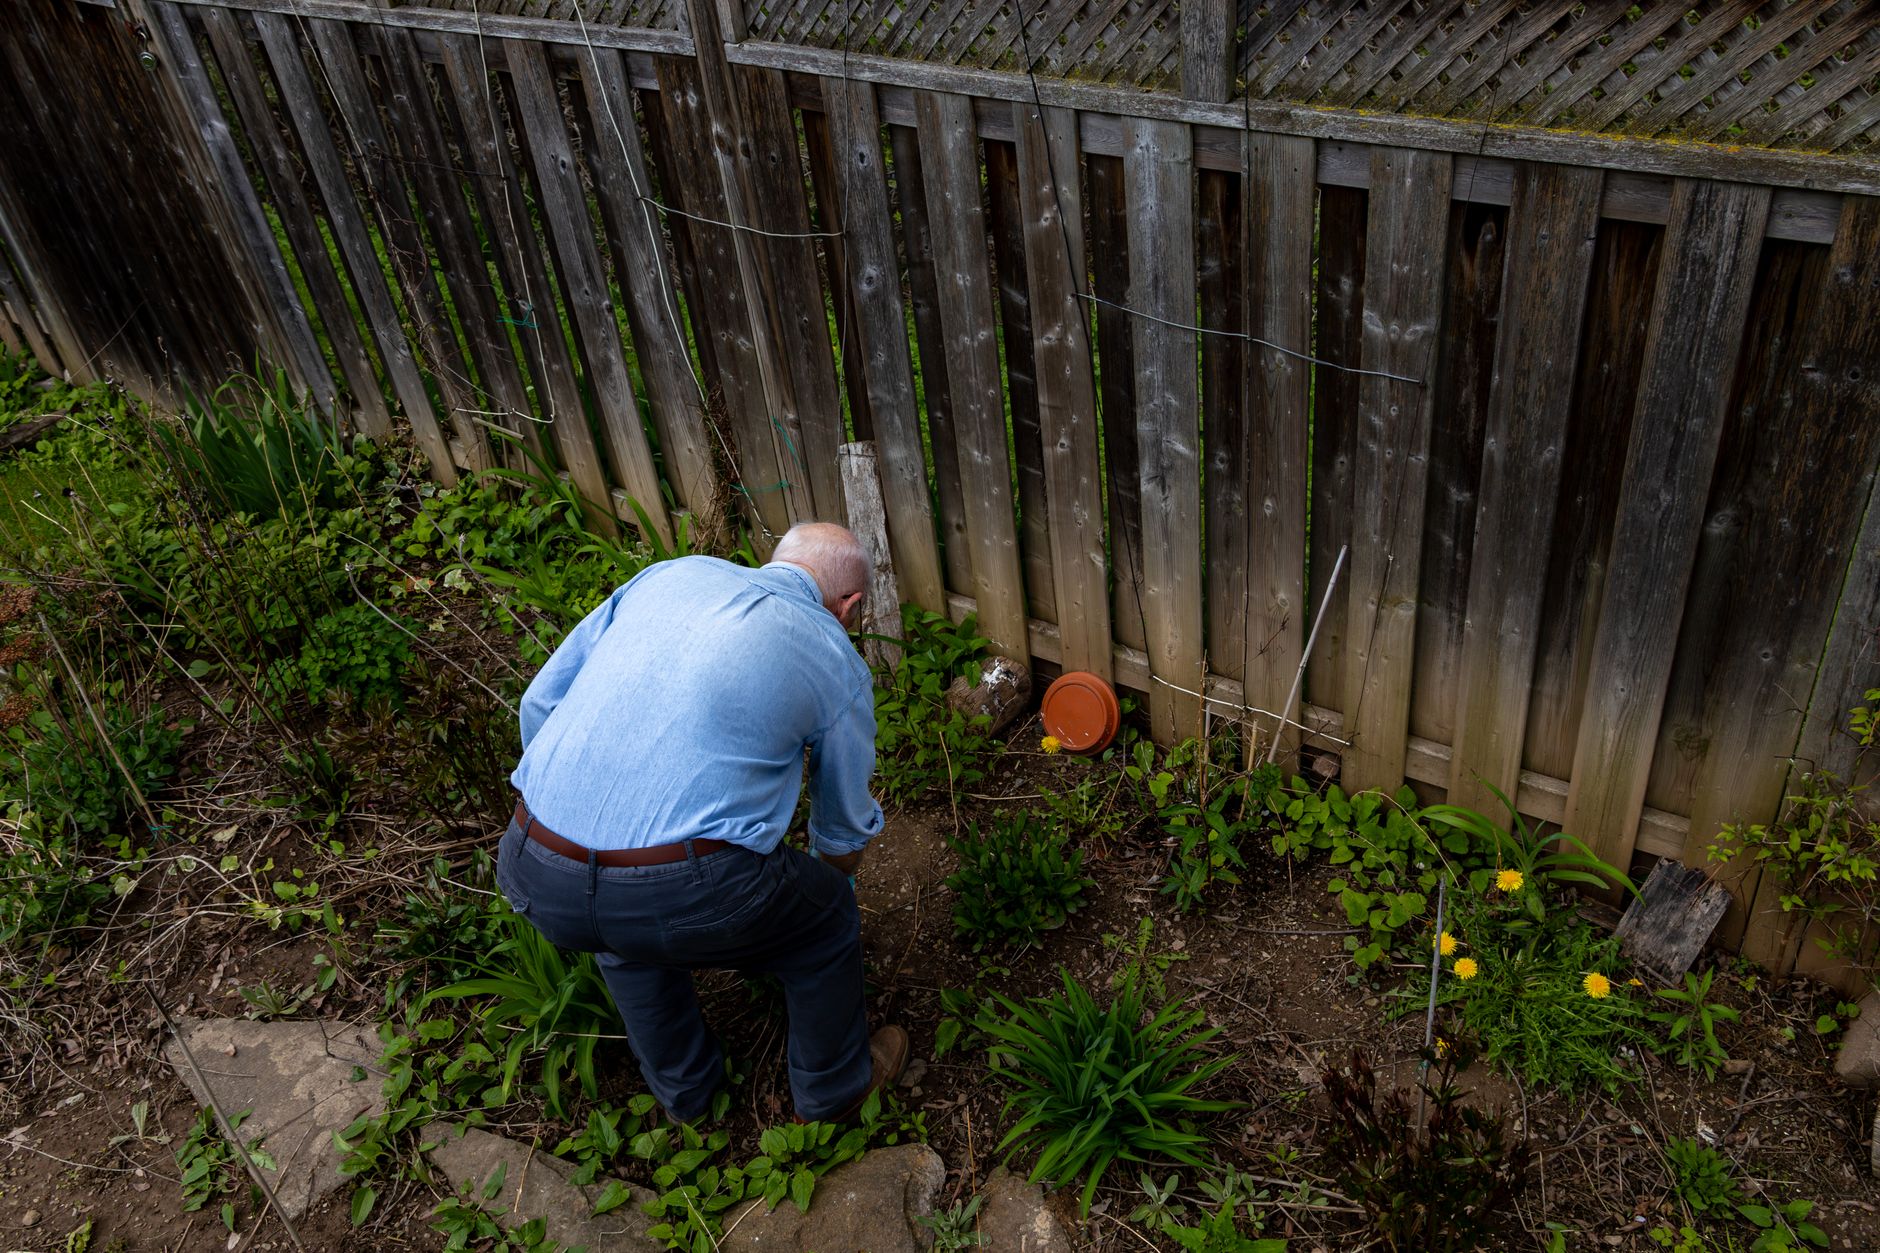
Mulch, glorious mulch! It’s a fantastic ally in the garden, suppressing weeds and regulating soil temperature. But as we've discussed, it can be a stubborn barrier to water if not managed correctly. Over the years, I've refined my mulch application and maintenance strategy here in my Midlands garden to ensure it helps, rather than hinders, my deep-watering efforts.
Randy's Mulch Management Playbook
I mainly use two types of mulch in my garden: home-made compost and wood chip. The compost goes on my raised beds and around my hungry vegetables, while wood chip is reserved for paths and permanent perennial beds. Each has its own quirks when it comes to water penetration.
The Goldilocks Principle: Not Too Thick, Not Too Thin:
- Too Thin (less than 2 inches): You won't get the benefits of weed suppression or moisture retention, and it'll break down too quickly.
- Too Thick (more than 4-5 inches): This is where the problems start. I once applied a good 6 inches of wood chip around my newly planted fruit bushes, thinking I was doing them a favour. The water just sat on top, or ran off, and the soil beneath was bone dry. I learned that lesson the hard way!
- The Sweet Spot (2-4 inches): This is what I aim for. It's enough to do the job without creating an impenetrable barrier. For my annual vegetable beds, I usually go for 2-3 inches of compost. For more permanent beds with shrubs or fruit, 3-4 inches of wood chip works well.
Creating a Watering Basin (The Donut Method):
When I mulch around individual plants, particularly newly planted ones or those with concentrated root balls like my greenhouse tomatoes or courgettes, I always leave a small ring of bare soil (about 2-3 inches wide) around the base of the stem. This creates a natural basin where water can collect and soak directly into the root zone without having to fight through the mulch. I then apply the mulch around this ring, like a donut. This has been a massive breakthrough for ensuring my thirsty plants get what they need.Checking and Refreshing Your Mulch:
Mulch isn't a "set it and forget it" solution. Throughout the growing season, I'll periodically check the mulch layers.- Compacted Mulch: Sometimes, especially after heavy rain, the top layer of organic mulches like wood chip or straw can form a bit of a crust. If I notice water isn't penetrating easily, I'll gently fluff it up with a hand trowel or a digging fork. This breaks the surface tension and allows water to pass through more readily.
- Depleted Mulch: Compost mulch, in particular, breaks down quickly, enriching the soil. I usually top up my vegetable beds with another inch or two of compost mid-season if it looks like the layer is getting thin. For wood chip, it's more of an annual top-up in late winter/early spring.
Avoiding Stem Contact:
Always keep mulch a few inches away from the stems of your plants. Piling it up against the stem can lead to rot and provide a bridge for pests. This is especially true for delicate seedlings and woody stems.
By managing my mulch layers thoughtfully, I've found that it truly becomes an asset rather than a liability in my UK garden. It retains moisture, suppresses weeds, and with a little strategic planning, it doesn't stop my deep watering efforts from reaching those thirsty roots.
Conclusion: Thirsty Roots, Happy Garden – Your UK Deep-Watering Journey
So there we have it, fellow gardeners! We've delved deep into the fascinating, sometimes frustrating, world of getting water past your mulch and straight to the thirsty roots of your plants. From spotting the subtle signs of underwatering to understanding how water behaves under those protective layers, we've covered a lot of ground.
I've shared my own experiences from my 800 sq ft Midlands garden, from the early mistakes of surface sprinkling to the breakthroughs I've had with strategic deep-watering methods. We've explored the essential tools that have become my trusted companions – the trusty watering wand, the efficient soaker hose, and even that humble moisture meter that takes the guesswork out of our often-unpredictable British climate.
Remember, the key takeaways are:
- Observe Your Plants: They're always talking to you. Learn their language of thirst.
- Understand Your Mulch: It's a fantastic ally, but needs managing. Aim for that 2-4 inch sweet spot and create watering basins around your plants.
- Water Deep, Water Infrequently: Encourage those roots to stretch down. This makes your plants more resilient to our variable UK weather.
- Tailor to the UK Climate: Our unique mix of sunshine, drizzle, and occasional downpours means a rigid watering schedule just won't cut it. Be flexible, be observant.
- Use the Right Tools: Invest in what works for your garden size and plant types. It makes all the difference.
Gardening, for me, is a continuous journey of learning and experimentation. There will be times when the weather foils your best-laid plans, or a plant just decides to be contrary. That's okay! I've certainly had my share of failures and lessons learned the hard way. The important thing is to keep observing, keep trying, and keep adapting.
By mastering the art of deep watering through your mulch, you're not just giving your plants a drink; you're building a stronger, more resilient garden. You're ensuring that every drop of precious water works harder for you, leading to healthier soil, happier plants, and ultimately, a more bountiful harvest.
So grab your watering wand, check that soil, and get ready to see your UK garden truly thrive, even under the thickest of mulches! Happy gardening!
