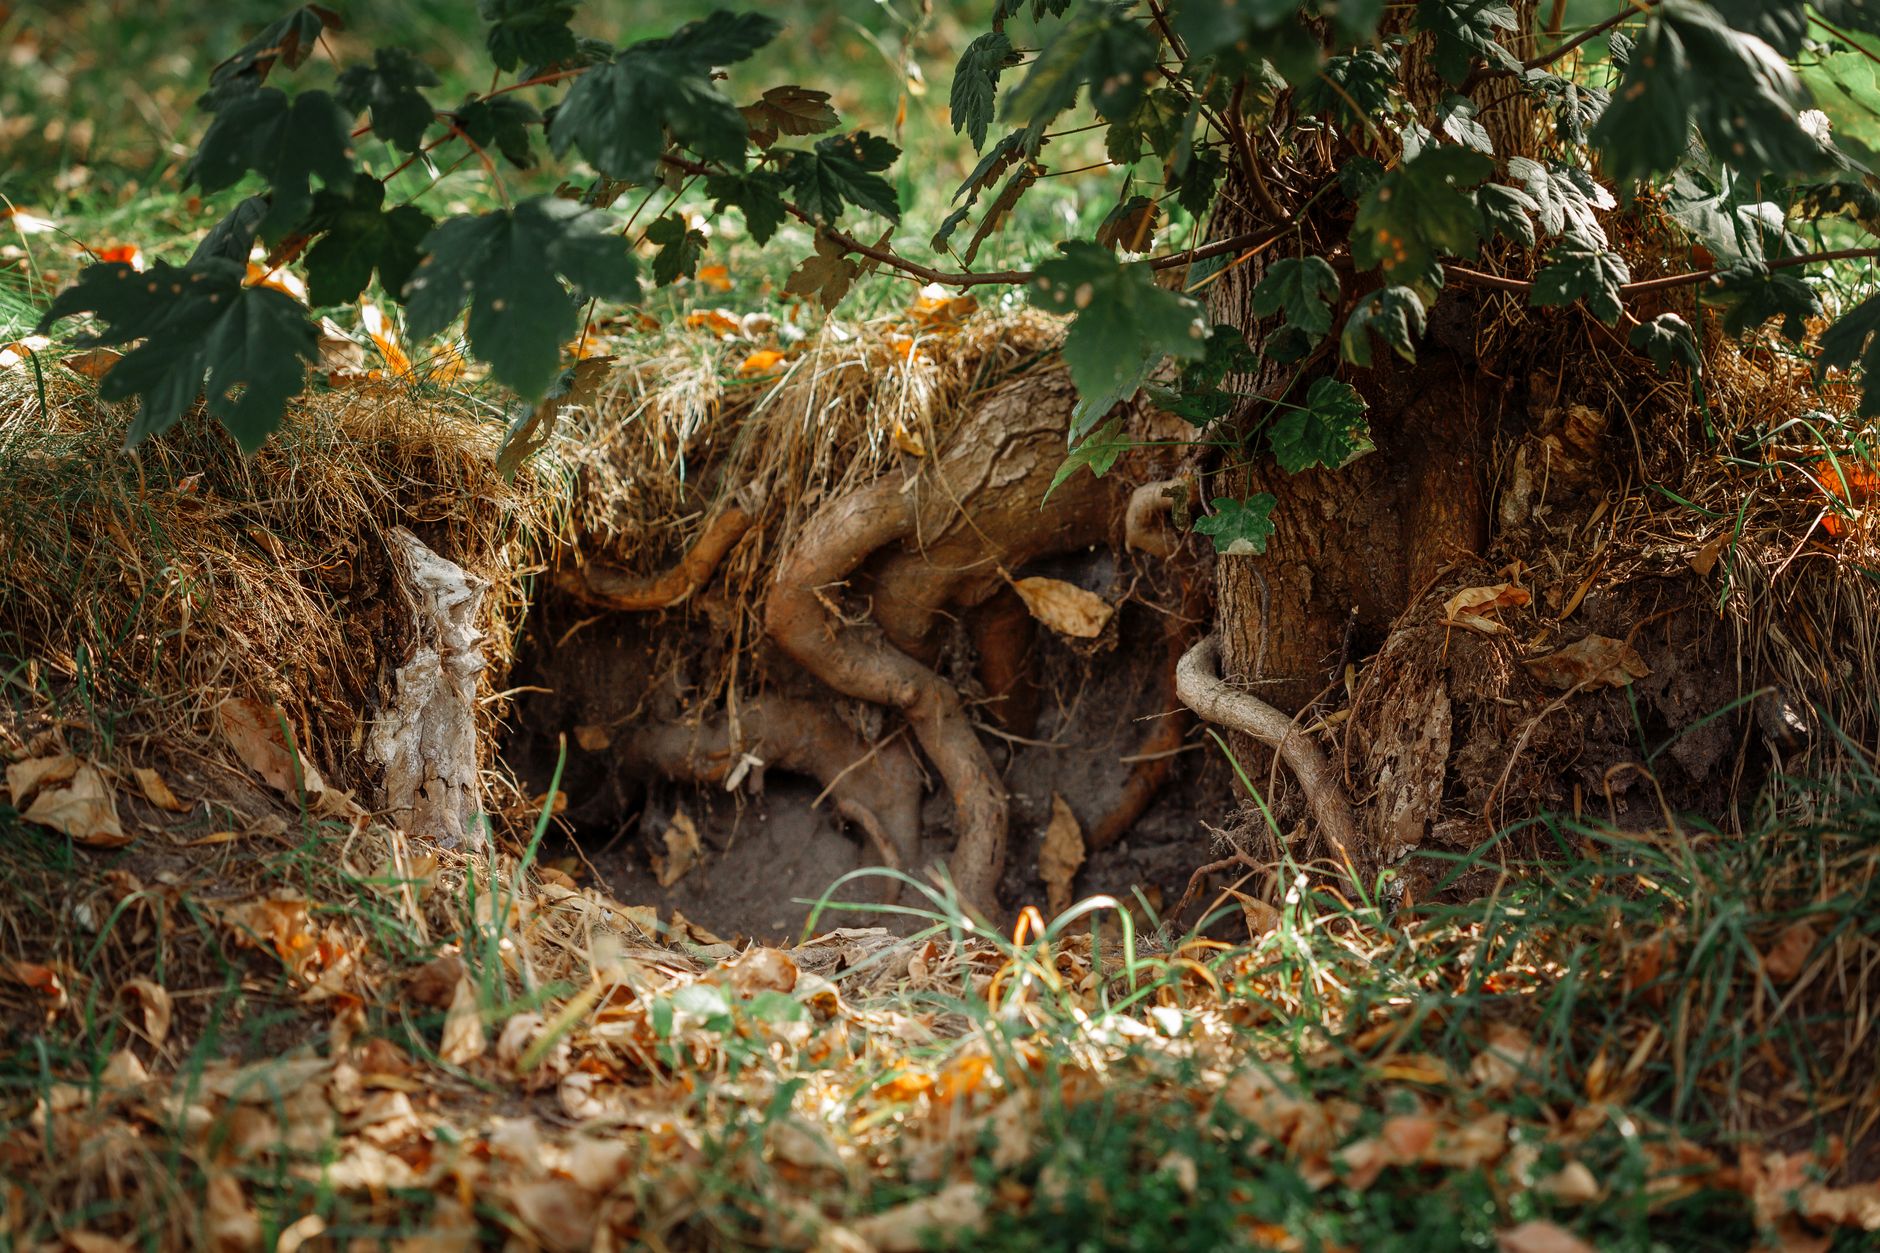
We've all been there, haven't we? That rush of excitement when you bring home a new tree or shrub from the nursery. You’ve picked the perfect spot in your garden, dug the hole with care, and envisioned years of beautiful blooms or delicious fruit. But then, slowly, something starts to go wrong. It's not an overnight collapse, but a gradual decline – the leaves look a bit off, growth stalls, or it just never seems to properly settle in. It’s a silent struggle, and it’s one of the most disheartening things to witness in your garden.
When I first started transforming my 800 sq ft backyard here in the Midlands five years ago, fresh from a career in IT and brimming with enthusiasm but short on practical experience, I had my fair share of these slow, mysterious failures. I used to spend hours troubleshooting computer networks, and I quickly realised plants, especially newly planted ones, require a similar diagnostic approach. The problem often isn't what you can see immediately; it's what's happening beneath the surface, often stemming from unaddressed root ball issues. I’ve learned this the hard way, through a few too many struggling plants and a lot of digging them up to see what went wrong.
Here in the UK, with our wonderfully varied (read: unpredictable!) climate, getting new plants established can be tricky enough. But if the roots aren't happy from day one, you're fighting an uphill battle against everything from a sudden cold snap to a prolonged dry spell. I’ve come to believe that the key to a thriving tree or shrub isn't just about good soil and proper watering; it’s fundamentally about giving its roots the best possible start. And often, the biggest culprits are problems with the root ball that we either miss or simply don't know how to fix when planting.
The Silent Struggle: Why Your New Tree or Shrub is Failing
It’s a particular kind of frustration, isn't it? You’ve done everything by the book – chosen a healthy specimen, prepared the soil, watered diligently. Yet, your lovely new addition, be it a budding ornamental cherry or a promising blackcurrant bush, just languishes. It’s not dying dramatically, but it’s certainly not thriving. This slow decline is often more insidious than a sudden pest attack or disease, because the cause is hidden from view.
In my experience here in the Midlands, especially with our sometimes heavy clay soil and the unpredictable British weather, a slow-dying plant almost always points back to its roots. Unlike a visible fungal spot or an aphid infestation you can spray, root problems are a silent killer, slowly strangling the life out of your plant from below. I’ve replanted countless trees and shrubs in my 800 sq ft garden over the years, from bare-root fruit trees to container-grown roses, and I’ve learned that ignoring the root ball at planting time is practically signing a death warrant. It leads to poor nutrient and water uptake, stunted growth, increased susceptibility to stress, and eventually, a plant that simply gives up. What works here in Britain, from my 5+ years of intense, hands-on gardening, is a thorough inspection and proactive correction of any root issues before the plant goes into the ground.
Early Warning Signs: Is Your Plant in Distress?
So, how do you spot that silent struggle before it's too late? It's all about observation. Your plants are always trying to tell you something, and once you learn their language, you can intervene. I remember a young 'Cox's Orange Pippin' apple tree I planted near my raised beds – it just never quite took off. Its leaves were always a bit pale, and it grew maybe an inch in its first year. I initially blamed the dodgy weather, but looking back, the signs were there.
Here’s a comparison table I often use to quickly diagnose whether a new plant is just settling in or truly struggling due to root issues. These are things I've learned to look for, especially with the variable conditions we get in the UK:
| Symptom Category | Healthy, Establishing Plant (UK Conditions) | Struggling Plant (Potential Root Ball Issues) |
|---|---|---|
| New Growth | Steady, albeit slow at first; new leaves emerge, often slightly lighter green. | Very little to no new growth; stunted shoots, or new leaves that are immediately pale, yellow, or even brown at the tips. |
| Leaf Appearance | Lush green (or characteristic colour), firm, few blemishes. May have some temporary yellowing of older leaves during establishment. | Pale green or yellowing (chlorosis), especially between veins; leaves may be smaller than expected, wilting even when soil is moist, or developing scorched edges. |
| Branch Health | Firm, pliable, gradually extending. | Dieback of branch tips or entire branches; brittle stems; sparse foliage. |
| Flowering/Fruiting | May delay flowering/fruiting in the first year as it establishes, then normal. | No flowers or fruit, or very sparse, weak production; fruit may drop prematurely. |
| Overall Vigor | Appears robust, if quiet, in its first season. Shows signs of steady integration into the garden. | Lacks vitality; looks generally stressed, "unhappy," or just "stuck" in a perpetual state of shock. |
| Pest/Disease Resist. | Generally robust, can fend off minor issues. | Highly susceptible to common pests and diseases, as its weakened state makes it an easy target. I’ve seen struggling plants get hit by mildew far quicker here. |
| Response to Water | Recovers well after watering; soil drains appropriately. | Wilts quickly after watering, or conversely, stays waterlogged; doesn't seem to "perk up." |
If you're seeing more signs from the "Struggling Plant" column, especially after a few weeks or months, it's time to investigate. In my 800 sq ft Midlands garden, I've learned that acting quickly can often save a struggling plant, rather than just hoping it'll eventually sort itself out.
Problem 1: The Root-Bound Menace and Girdling Roots
This is probably the most common root ball problem I encounter, especially with plants bought from garden centres here in the UK that might have been sitting in their pots for a while. You get home with a seemingly healthy plant, pull it out of its pot, and instead of a nice loose network of roots, you're faced with a solid, tangled mass – a tight coil of roots, like a spring waiting to choke the life out of your plant. This, my friends, is a root-bound menace.
I learned this lesson the hard way with a beautiful young elderflower sapling I bought a few years back. It looked great in the pot, and foolishly, in my eagerness to get it planted, I didn't check the roots properly. I just plopped it straight into the ground. A year later, it was barely taller, looking utterly miserable with pale, sparse leaves. When I finally dug it up to inspect, the roots were a solid block, still in the exact shape of the pot! They hadn't grown out into my lovely garden soil at all.
When roots become root-bound, they start growing in circles around the inside of the pot. Not only does this prevent them from extending outwards into the surrounding soil for water and nutrients, but these circling roots can eventually grow so thick that they start to constrict and "girdle" the main stem or other essential roots. Think of it like a tight collar slowly choking the plant. Here in the UK, especially with container-grown plants that sit in nurseries for a while, this is a really common issue, and if unaddressed, it will slowly starve and stunt your plant, leading to its eventual demise.

How to Fix It (Randy's Way):
Before planting any container-grown tree or shrub, always, always, always slide it out of its pot and inspect the roots. If you see a dense, circling mass:
- Tease them out: Gently use your fingers or a small hand fork to loosen the outer roots. Don't be afraid to be firm but careful. You want to untangle them and encourage them to grow outwards.
- Make cuts: For severely root-bound plants, you might need to make vertical cuts (2-4 cuts, about 1 inch deep) around the root ball with a clean knife or secateurs. This sounds drastic, but it encourages new root growth outwards. I've done this many times with robust plants like roses and hydrangeas in my Midlands garden, and they've always bounced back stronger.
- Spread them: Once loosened or cut, spread the roots outwards as you place the plant in the planting hole. Ensure they are radiating away from the stem, not continuing to circle.
Problem 2: Planting Depth Disasters – Too Deep or Too Shallow
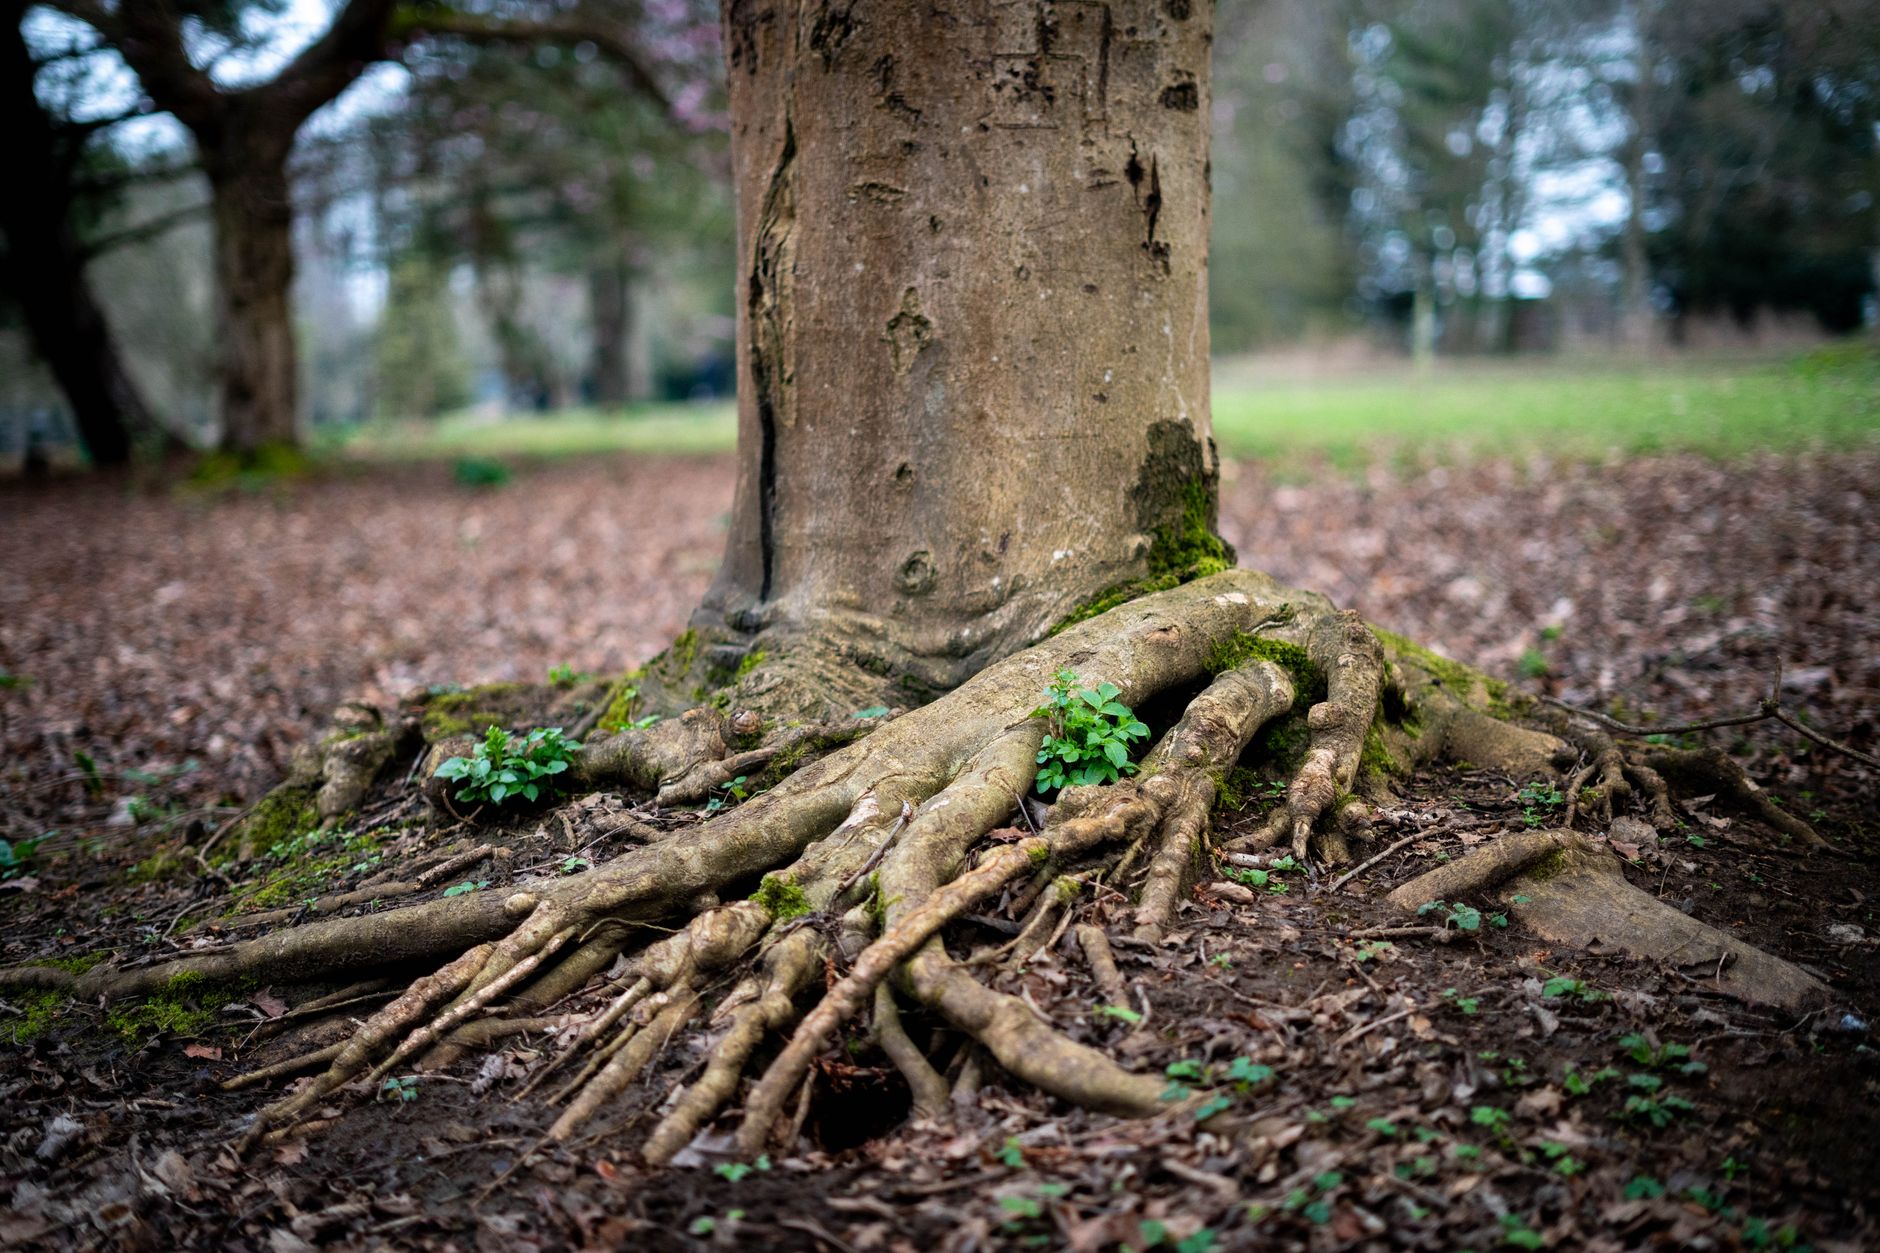
Getting the planting depth just right is absolutely critical, and it's another common mistake I made when I first started gardening. It's like a plant's neck; you wouldn't bury your neck, would you? The point where the roots begin to flare out from the main stem – known as the "root flare" or "root collar" – needs to be at or slightly above ground level.
Planting Too Deep: This is arguably the more common and damaging mistake. If you bury the root flare, you're essentially suffocating the roots and the lower part of the stem. The bark on the stem isn't designed to be perpetually moist underground, making it susceptible to rot and disease. The roots, being deprived of oxygen, struggle to take up water and nutrients. I've seen countless plants, particularly young trees, slowly decline in my UK garden because they were planted just an inch or two too deep. My biggest blunder here was a small ornamental cherry I put in a raised bed; I thought I was being careful, but I buried the root flare by a good two inches. It struggled for two seasons, pale leaves, very little growth. I eventually had to dig it up, gently brush away the soil, and replant it higher. What a faff!
Planting Too Shallow: While less common, planting too shallow can also cause problems. If the root flare and uppermost roots are exposed, they can dry out quickly, especially during our occasional British heatwaves, leading to stress and reduced water uptake. It also makes the plant less stable, vulnerable to our sometimes gusty British winds, which can hinder proper establishment.
How to Fix It (Randy's Way):
- Identify the Root Flare: Before you even dig your hole, find the root flare. It's the point where the trunk widens slightly and the main roots begin to branch out. Sometimes, with container-grown plants, it might be buried under a layer of potting mix – gently brush it away to expose it.
- Dig the Right Hole: Dig your planting hole wide, but only as deep as the root ball, ensuring the root flare will be at or slightly above the surrounding soil level. If your soil is heavy clay, like parts of my Midlands garden, I often plant slightly higher to allow for natural settling.
- Check as You Go: Place the plant in the hole and lay a straight edge (like a spade handle) across the hole to check the depth. Adjust the soil beneath the root ball until the root flare is perfectly positioned.
- Backfill Carefully: Once happy with the depth, backfill with soil, gently firming it around the root ball, ensuring not to bury the root flare. Resist the urge to mound soil up against the trunk after planting.
Problem 3: The Perils of Poor Soil Integration and Drainage
Right, so we've talked about what's happening in the root ball and how deep (or shallow) we're planting. Now, let's look at what's around it – the soil you're asking your new tree or shrub to call home. This is a massive one, especially here in the UK where our soil can vary wildly, even within a few miles! In my Midlands garden, I'm mostly dealing with a heavy clay loam, which has its benefits but also its challenges, particularly for drainage.
One of the biggest mistakes I see, and honestly, one I made myself when I was first starting out five years ago, is preparing a lovely, rich, amended planting hole in otherwise poor, compacted soil. You dig a nice big hole, add in some beautiful compost and soil improver, and pat yourself on the back. Sounds good, right? Well, not always.
What often happens, especially with our heavier UK soils, is that this lovely, friable soil in the planting hole acts like a bathtub. When it rains (and let's face it, it rains a fair bit here in Britain!), water drains quickly through the amended soil but then hits the impenetrable, compacted native soil at the bottom and sides of the hole. It has nowhere to go. This creates what's called a 'perched water table'. Your plant's roots are then sitting in a soggy, airless mess, slowly suffocating. It's the exact opposite of what you want for healthy root establishment.
Conversely, if your native soil is incredibly sandy and free-draining, and you've dug a hole and backfilled with a much heavier, more moisture-retentive mix, you can create a 'desert island' effect. The roots stay put, reluctant to venture into the fast-draining native soil, and the plant essentially dries out faster than if it had been planted directly into the native soil.
The key is integration. You want your plant's roots to feel encouraged to grow out into the surrounding soil, not just stay put in a comfortable pocket. This means creating a transition zone.
Here’s a comparison I've learned to live by in my UK garden:
| Aspect | Amending Planting Hole Only | Amending Wider Area & Integrating |
|---|---|---|
| Drainage (Heavy Soil) | Creates a 'bathtub' effect; poor drainage, root rot risk. | Improves drainage and aeration across a wider area. |
| Drainage (Light Soil) | Creates a 'desert island'; roots reluctant to spread. | Encourages roots to spread into surrounding soil. |
| Root Establishment | Roots often circle within the amended pocket, slow outward growth. | Roots are encouraged to explore and anchor into native soil. |
| Long-term Health | Stunted growth, stress, susceptibility to disease. | Robust growth, better nutrient uptake, drought tolerance. |
| Effort | Less initial effort, but more problems later. | More initial effort (digging wider), but much healthier plant. |
My approach now, especially for any new tree or substantial shrub, is to dig a hole that's at least twice as wide as the root ball, but not necessarily much deeper. Then, I use a fork to really break up the compacted soil at the bottom and sides of the hole, blending in a good quality, well-rotted compost or soil improver with the native soil I've dug out, rather than just adding it in layers. This ensures a gradual transition, encouraging those new roots to venture out into their new home. I've found this makes a world of difference to how quickly a plant settles in and thrives, even with our sometimes-challenging British weather.

Problem 4: Watering Woes – Not Enough or Too Much for New Roots
Watering is the classic Goldilocks problem for newly planted trees and shrubs – it needs to be just right. Too little, and the fragile new roots shrivel and die. Too much, and they drown, lacking the oxygen they need to survive. This is particularly tricky in our UK climate where we can swing from a bone-dry spring to a deluge in summer, or vice versa, often within days!
When I first started, I lost a beautiful young 'Autumn Bliss' raspberry cane and a small 'Little Gem' magnolia because I couldn't get the watering right. The raspberry dried out during a surprisingly hot May, and the magnolia, planted in slightly heavy soil, probably suffered from a combination of overwatering and poor drainage after a couple of heavy Midlands downpours. It was a harsh lesson.
The critical thing to remember is that new plants, especially trees and shrubs, can't forage for water effectively yet. Their root systems are immature and confined, often to the original root ball or just beyond. They are entirely dependent on you.
Not Enough Water: The Dehydration Trap
Even if the surrounding soil feels moist, the root ball itself can dry out, especially if it was a bit pot-bound to begin with. The fine roots can't absorb water, and the plant slowly withers. This is particularly common if you've planted a container-grown plant that has a very fine, dense root system.
- My fix: I make it a habit to check the moisture in the root ball area directly. I stick my finger down about 2-3 inches (5-7cm) right next to the stem. If it feels dry, it's time to water. I don't just sprinkle a bit on top; I give it a slow, deep soak that allows the water to penetrate right down to the root zone. For a new tree, that could mean 10-20 litres (a couple of watering cans full) once or twice a week during dry spells, depending on the plant and the weather.
- Mulch is your friend: Here in my UK garden, I swear by a good layer of organic mulch (like wood chip from my local arboretum, or well-rotted compost) around the base of new plants. It helps retain moisture, suppresses weeds (which compete for water), and moderates soil temperature. Just keep it a few inches away from the stem to prevent rot.
Too Much Water: The Drowning Hazard
On the flip side, overwatering is just as deadly. Roots need oxygen to function, and if they're constantly submerged in water, they can't 'breathe'. This leads to root rot, which is often harder to diagnose as the symptoms (wilting, yellowing leaves) can mimic underwatering.
- My fix: This comes back to soil integration and drainage. If you've prepped your soil well (as discussed in section 5), you're already ahead. Beyond that, it's about observation. If the soil still feels wet when you check it, hold off on watering. Don't water on a rigid schedule; water based on the plant's needs and the current British weather. During periods of heavy rain, I might even gently mound soil around the base of very sensitive plants to encourage water to run off slightly, especially if they're still settling in.
For the first year, consistency is absolutely key. Whether it's a new 'Discovery' apple tree or a delicate 'Annabelle' hydrangea, their root systems are fragile and demanding. I've found that checking daily for the first couple of weeks, then every few days, gradually extending to once a week or as needed, is a good rhythm. Our British weather is so changeable that you really need to be flexible.
Prevention is Key: Smart Planting for Future Success
Look, we've all made mistakes. I certainly have! But the beauty of gardening, especially here in the UK, is that every challenge is a chance to learn. The best way to avoid the slow, sad decline of a newly planted tree or shrub is to get it right from the very beginning. It's about setting them up for success, giving them the best possible start in our often-unpredictable British climate.
Here's my smart planting checklist, honed over five years of trial and error in my 800 sq ft Midlands garden:
- Choose the Right Plant for the Right Place: This is fundamental. Don't try to force a sun-loving Lavender 'Hidcote' into a shady, damp corner of your garden, or a moisture-loving Hydrangea into a baking hot, dry spot. Research the plant's needs – sun, soil type, eventual size – and match it to your garden's microclimates. I've learned this the hard way trying to grow things that just weren't suited to my heavy clay and our specific light levels.
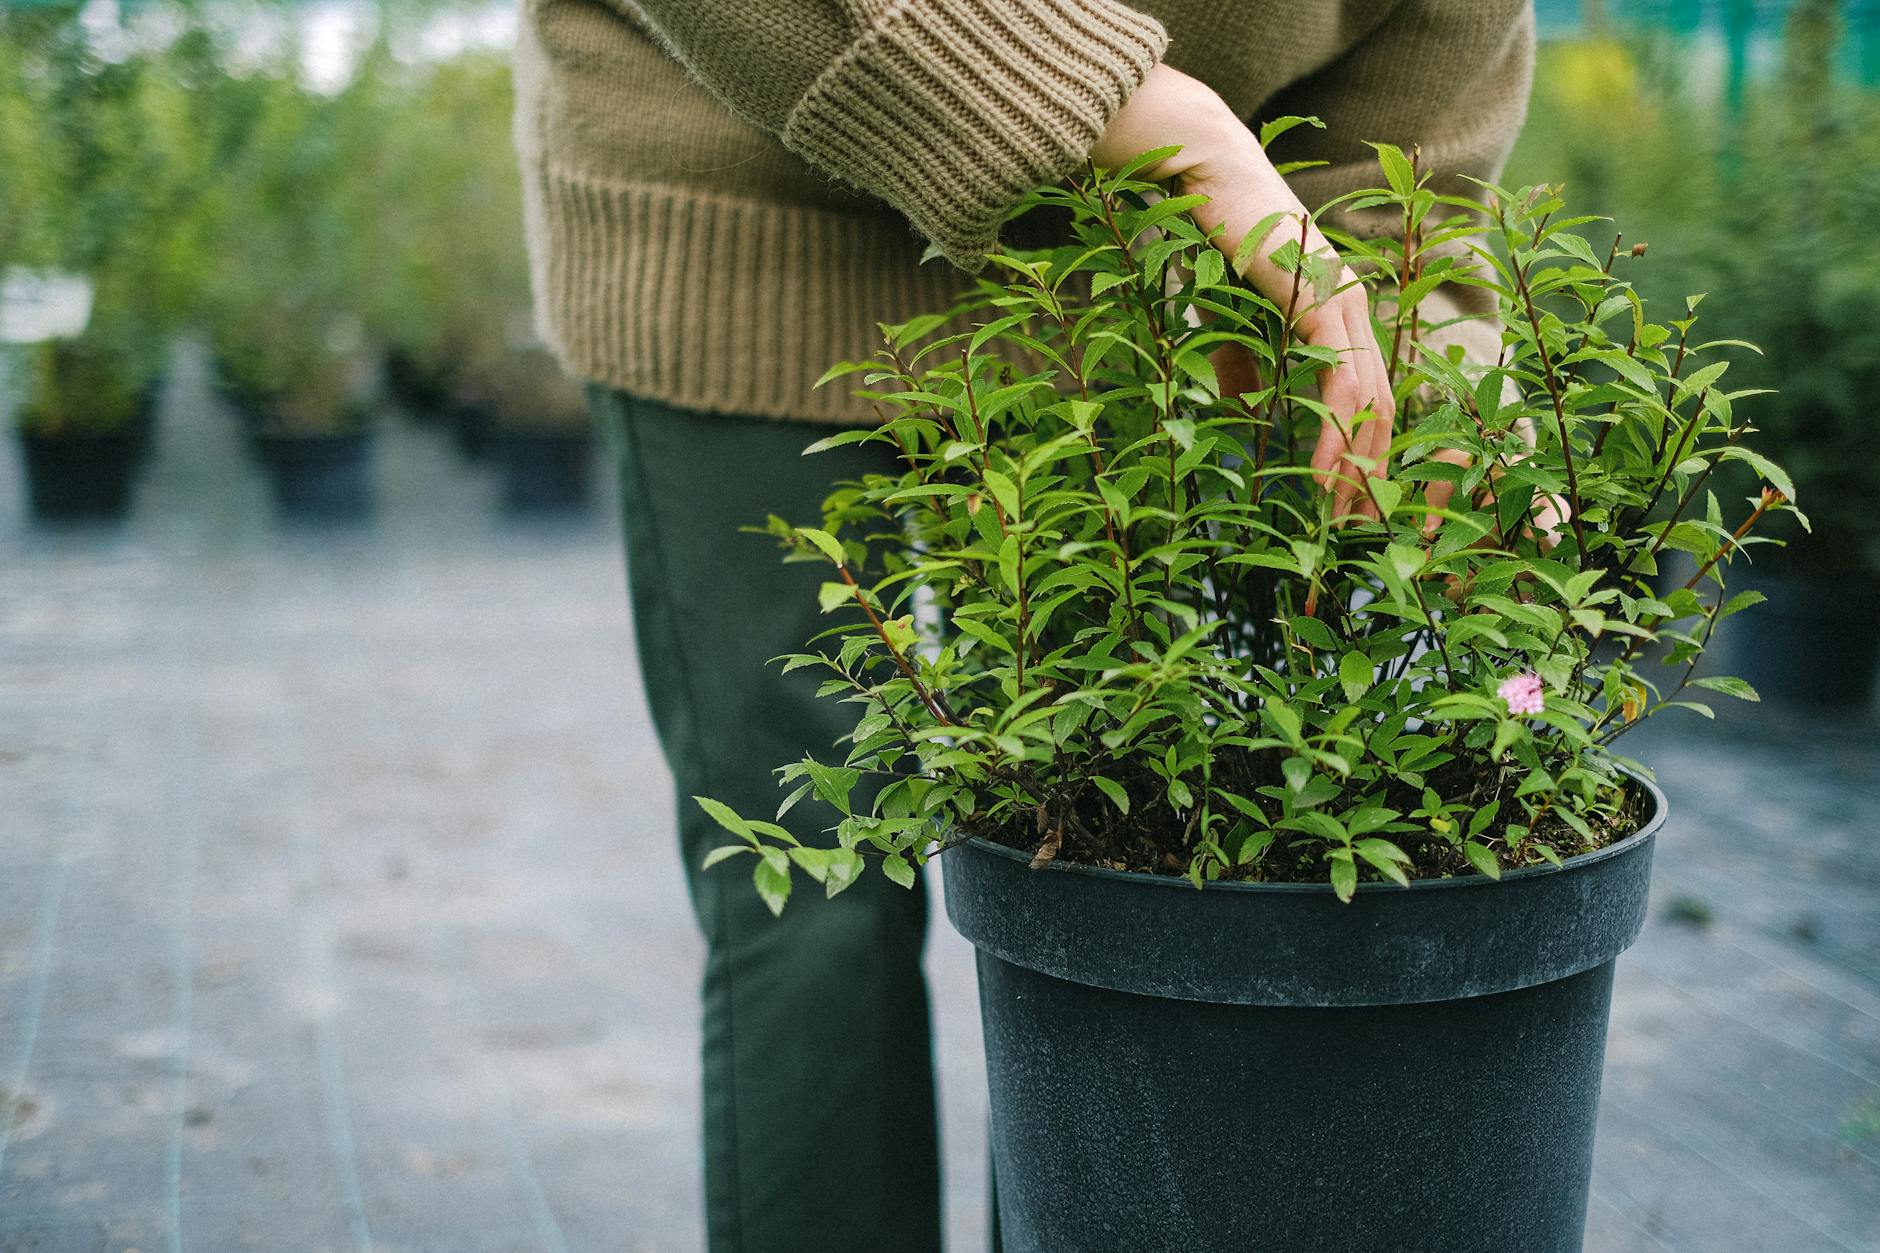
- Inspect Before You Buy: At the garden centre, gently slide the plant out of its pot. Look for healthy, white roots, not a dense, circling, woody mess. If it's severely pot-bound, you'll have more work to do (see Problem 1).
- Pre-Soak the Root Ball: Before planting, give the root ball a good soak in a bucket of water until no more bubbles appear. This ensures it's thoroughly hydrated before going into the ground, especially if it's been a bit dry at the nursery.
- Prepare the Soil Properly: Dig a hole at least twice as wide as the root ball, and just as deep. Break up any compacted soil at the bottom and sides with a fork. Mix any soil amendments (like good quality compost or well-rotted manure) thoroughly with the excavated native soil, rather than just adding it to the hole. This promotes better soil integration and prevents drainage issues.
- Address Root Issues: Gently tease out circling roots. If the root ball is dense, make a few vertical cuts around the sides and an 'X' across the bottom. This encourages roots to grow outwards.
- Plant at the Correct Depth: Ensure the root flare (where the trunk meets the roots) is at or slightly above soil level. Use a straight edge across the planting hole to check. If planting a grafted plant, make sure the graft union is well above the soil.
- Backfill Gently: Use the amended native soil. Firm it gently around the root ball to remove large air pockets, but don't compact it heavily.
- Create a Watering Basin: Build a small soil berm (a raised ring of soil) around the edge of the planting hole. This helps contain water, directing it down to the root zone rather than letting it run off.
- Water Deeply and Consistently: Give the newly planted tree or shrub a long, slow soak immediately after planting. For the first year, water regularly, checking the soil moisture with your finger before each watering. Our British summers can be deceptively dry!
- Mulch: Apply a 2-3 inch (5-7cm) layer of organic mulch over the planting area, keeping it a few inches away from the stem. This conserves moisture, regulates soil temperature, and suppresses weeds.
By taking these steps, you're not just planting a tree or shrub; you're investing in its future. You're giving it the best possible chance to thrive and become a beautiful, long-term feature in your UK garden.
Conclusion: Your Green Guardians Deserve the Best Start
It's heartbreaking to see a new plant, full of promise, slowly fade away. I've been there, watching with a knot in my stomach as leaves yellowed or branches withered, knowing I'd missed something crucial. But what I've learned over my five years of intensive gardening, here in the heart of the Midlands, is that most of these 'slow deaths' aren't mysterious ailments. They're usually down to unaddressed root ball problems and planting mistakes that we, as gardeners, can absolutely fix or, even better, prevent.
We've delved into the common culprits: the root-bound menace, planting too deep or too shallow, poor soil integration leading to drainage nightmares, and getting our watering 'just right' in our often-fickle British weather. Each one, if ignored, slowly chokes the life out of your new green friend.
But here's the good news: equipped with this knowledge, you're now ready to be a root detective! You know what to look for at the nursery, how to prepare your soil effectively, and how to nurture those fragile new roots in their critical first year. Gardening is an ongoing experiment, a constant learning curve, and believe me, every success makes those initial struggles worth it.
So, next time you bring home a new tree or shrub, take a moment. Give it the best possible start. Unpot it, check those roots, plant it with care, and water wisely. Your garden, and your future self, will thank you for it. Happy planting, fellow UK gardeners! May your trees be mighty and your shrubs ever vibrant.
